Functional use #
In Flowclass, you can easily add a Tutor Account for your school or educational institution, allowing each tutor to log in to the system to view courses, student lists, and manage their own teaching periods.
This feature can effectively assist schools in establishing a collaboration platform, allowing different roles (such as tutors, assistants, or administrators) to work together in the same backend while maintaining clear permission hierarchies to ensure data security.
1. Go to the “Staff Management” page #
After logging in to your Flowclass account:
- Click “Staff Management” in the left function bar.
- The system will display a list of all currently added tutors and staff, including fields such as name, email, phone number, and role.

2. Click “Invite Users to Join Website” #
In the top right corner, click the Invite users to your site button.
This action opens the invitation settings window, allowing you to enter the new tutor’s profile and role settings.

3. Enter the tutor information #
In the newly opened form window, fill in the following information:
- Name: Fill in the full name of the tutor.
- Email: Enter the tutor’s login email address (this email will be used to log in to your account and receive invitations).
- Phone: You can fill in the contact phone number of the tutor.
Then, in the user role, choose:
- Tutor
💡 Flowclass has a variety of roles to choose from (e.g., school administrator, assistant, etc.), and tutor accounts will have permissions for functions such as course management and available time settings.
Once you have completed the data entry, click the “Confirm” button in the upper right corner.
4. Send invitations and invitation links #
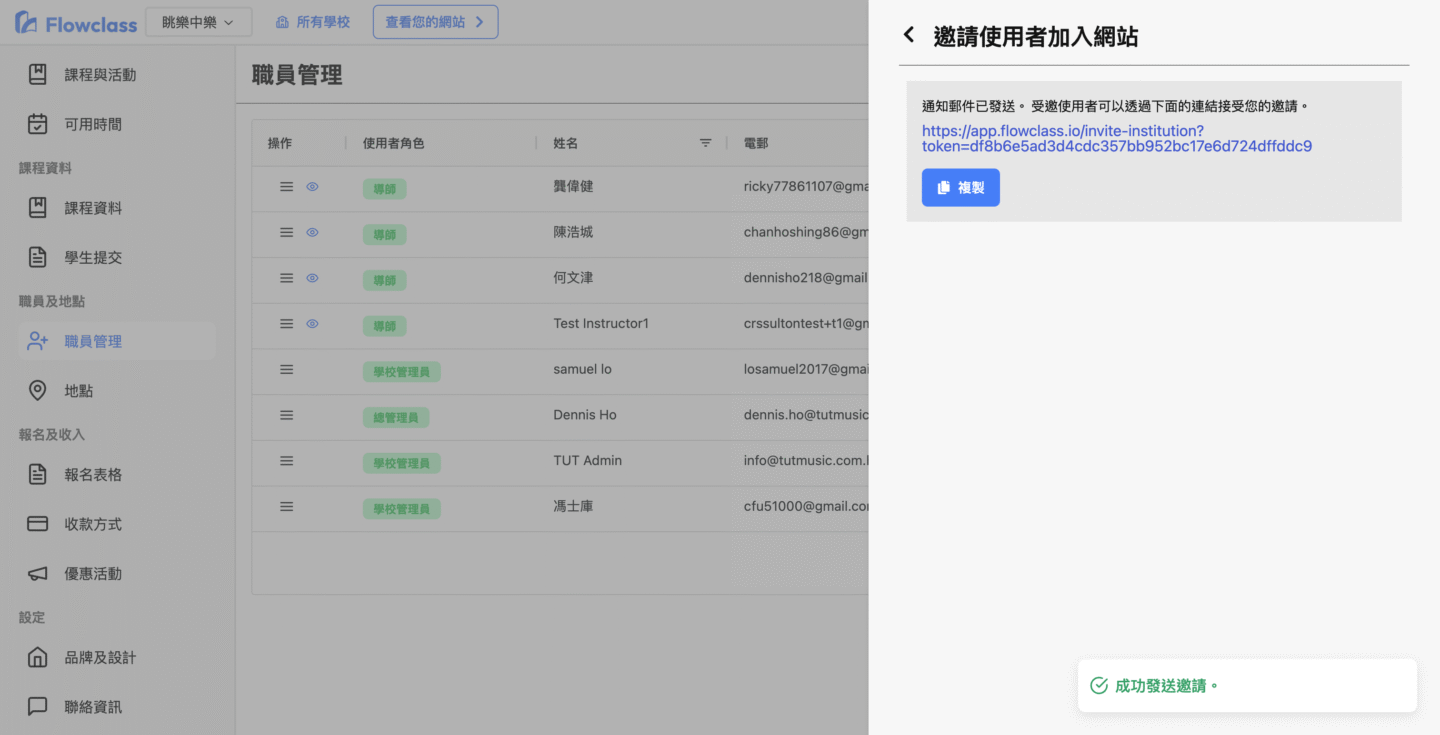
Once confirmed, an invitation link will be automatically generated.
The screen will display:
A notification email has been sent and the invited user can accept your invitation via a link.
You can:
- Directly click the “Copy” button to copy the invitation link and send it to the tutor via other methods such as WhatsApp or SMS;
- Or ask the mentor to go to their email address and click on the invitation email link sent by Flowclass to sign up.
A “✅ Successfully sent invitation” message will be displayed at the bottom right of the screen, indicating that the invitation has been completed.
5. The tutor accepts the invitation and creates an account #
When the tutor receives the invitation email, click on the invitation link (such as https://app.flowclass.io/invite-institution/...) to enter the registration screen.
Instructors need to complete the following steps:
- Confirm your email address (which will be used as your login account).
- Fill in Name for communication.
- Create a login password (subject to the following conditions):
- At least 8 characters
- Contain at least one number (0–9)
- Contain at least one uppercase letter (A–Z)
- Contain at least one lowercase letter (a–z)
- Once the setup is complete, click “Continue” to complete the registration.
The mentor account will be automatically added to your institution’s backend, allowing you to log in to the Flowclass platform immediately.

6. Complete the setup and subsequent management #
After successful addition, the mentor will appear in the “Staff Management” list as the “Mentor” role.
School administrators may:
- Edit tutor information (e.g. update contact details);
- Deactivate the tutor account;
- Resend invitations;
- Check the last login time of the instructor and the instructor rates.
💡 Tips #
- If the tutor has not yet received the invitation email, please check your spam folder or use the copy link to invite.
- Each tutor account can access their own courses, available hours, and student lists at the same time, making it easy to manage teaching content independently.
- Administrators can add or remove tutors at any time without affecting the permissions of other accounts.


