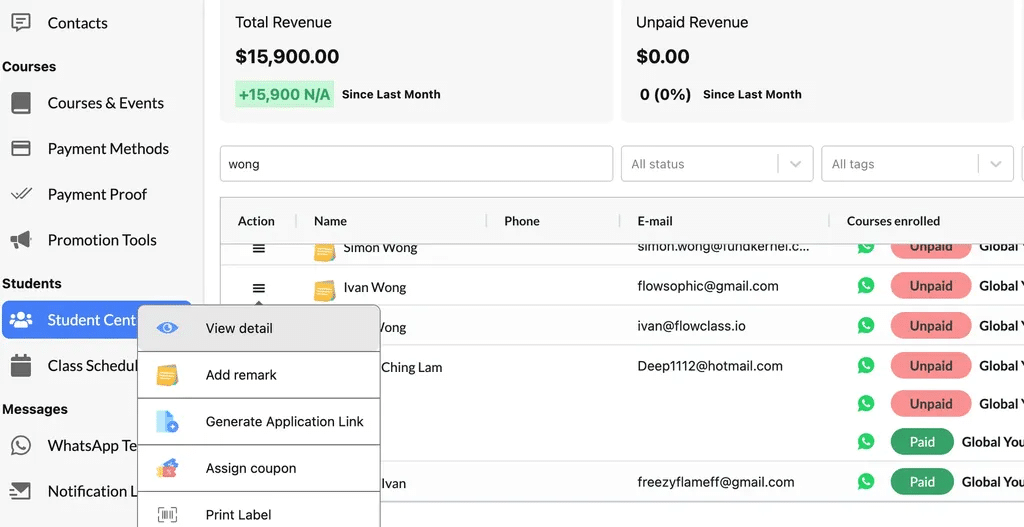
Step 1: Access the Profile #
- Navigate to the Student Central page.
- Locate the student whose profile you want to modify.
- Click the Action Button (☰) next to the student’s name and select View Detail. This will open the student’s full profile.
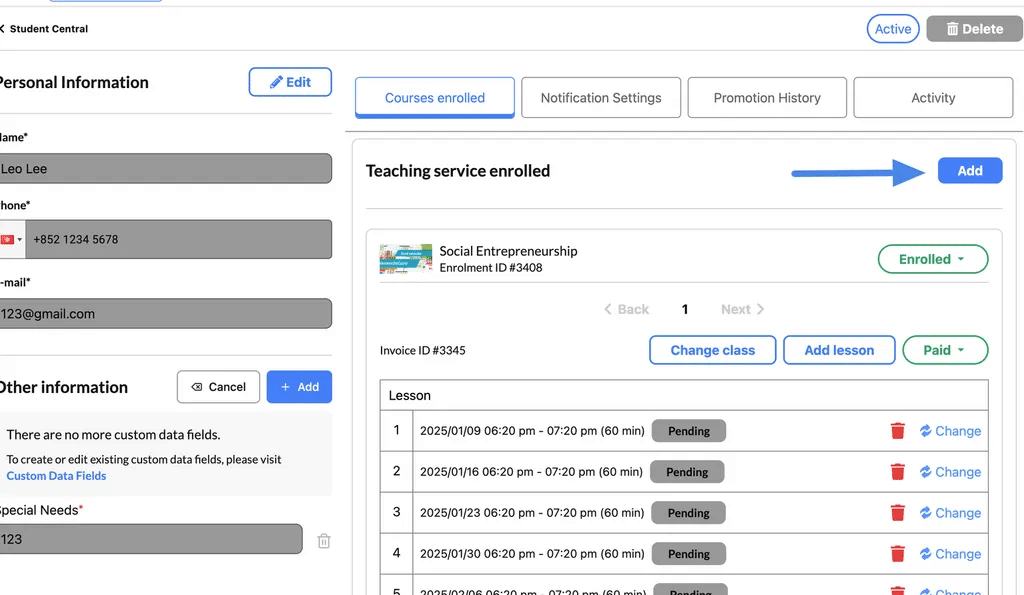
Step 2: Add a Course #
- In the student’s profile, navigate to the Teaching Service Enrolled section.
- Click the Add button in the top-right corner of the section.
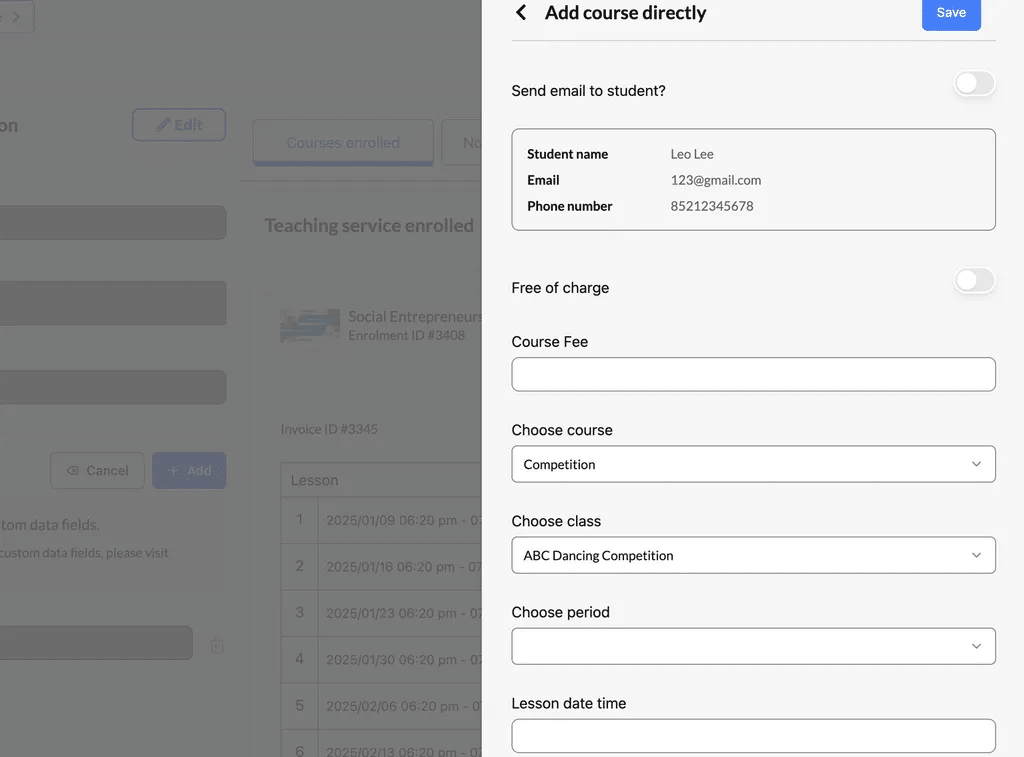
Step 3: Fill in the Course Details #
- Send Email to Student?
- Toggle this option ON if you want the student to receive an email notification after the course is added.
- Free of Charge
- Toggle this option ON if the course is free. Otherwise, enter the course fee in the Course Fee field.
- Custom Course Fee:
- You can enter a specific fee for the course in the Course Fee field while adding a course.
- This fee will be applied to the payment link generated for the student.
- Discounts or Free Courses:
- If the course is offered for free, simply toggle the Free of Charge option to waive the fee entirely. This will ensure the payment link reflects no charge.
- Choose Course
- Select the course you want to enroll the student in from the dropdown menu.
- Choose Class
- Select the specific class associated with the course.
- Choose Period
- Set the schedule or time period for the class.
- Lesson Date Time
- Enter the start date and time for the lesson.
Step 4: Save and Confirm #
- Once all fields are completed, click the Save button at the top of the popup.
- A registration link will be generated, which can be sent to the student via email or WhatsApp (if the email toggle was selected).
The upload payment receipt will look like the following

Step 5: Confirm and Send the Notification #
- Review the Confirmation Pop-Up:
- Verify the recipient list, notification type, and delivery method displayed in the pop-up.
- Click “Yes, Send”:
- Confirm the action by clicking the “Yes, Send” button.
- The system will process the request and send the notification to all listed recipients.
- Confirmation Message:
- After sending, a success message or status update will appear, confirming that the notifications were sent successfully.


