This documentation provides step-by-step instructions for new users of Flowclass on how to connect their Stripe Express account and start collecting payments.
By following these instructions, you will be able to configure the necessary settings within Flowclass to enable seamless payment transactions.
Documents Required #
Following is a list of verification documents needed to successfully open a new account.
https://docs.stripe.com/acceptable-verification-documents?document-type=identity
For example, in Hong Kong, Acceptable forms of identification:
- 護照 / Passport
- 身份證 / Identity card – scans of front and back are required
- 登記事項證明書 / Certificate of Registered Particulars
- 豁免證明書 / Certificate of Exemption
- 越南難民證 / Vietnamese refugee card
Required information:
- Full legal name that matches the name in your Stripe profile
- Date of birth (DOB) that matches what’s in your Stripe profile
- Photo of person (except where exclusions apply)
Onboarding Steps (With Existing Account) #
1. Navigate to the Payment Methods Page #
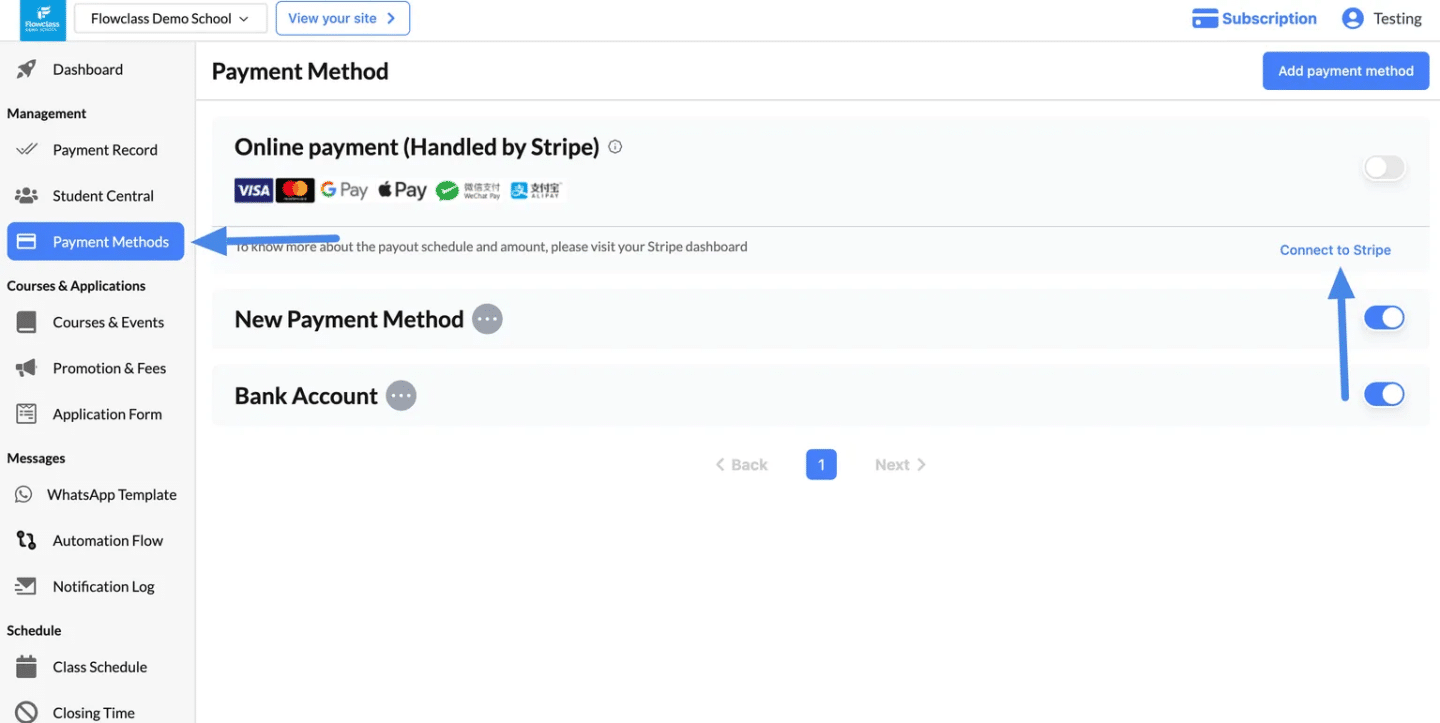
- On the left-hand menu, click “Payment Methods” under the Management section.
- You will see the “Online Payment (Handled by Stripe)” option at the top of the page.
2. Click “Connect to Stripe” #
- Locate the “Connect to Stripe” button on the right side of the Stripe section.
- Click the button to begin the onboarding process.
3. Log In or Create a Stripe Account #

4. Authorize the Connection #
- Once logged in, Stripe will prompt you to authorize access.
- Review the details of the connection and click “Authorize Access to This Account.”
5. Return to the Platform #
- After completing the authorization process, you will be redirected back to the platform.
- The “Connect to Stripe” button will now display as “Connected to Stripe,” indicating that the integration was successful.
Onboarding Steps (With No Existing Account) #
1. Create a New Stripe Account #
- In the onboarding form provided by Stripe, fill in the required business and personal details:
- Email Address: The email you want associated with your Stripe account.
- Business Information: Your business name, type, and address.
- Country and Currency: Choose your operating country and preferred currency.
- Phone Number: A phone number for your account verification.
- Click “Next” to proceed.
2. Link Your Bank Account #
- Stripe requires your bank account details to send payouts. Provide:
- Bank account number
- Routing number (or equivalent for your country)
- Bank name
- Ensure the information is accurate to avoid payout delays.
3. Add Verification Details #
- Stripe may ask for identity verification:
- For Individuals: Submit a government-issued ID, such as a driver’s license or passport.
- For Businesses: Provide business registration documents and tax information, if applicable.
- Upload the necessary documents as requested.
4. Agree to Stripe’s Terms #
- Review and accept Stripe’s terms of service, specifically for using Stripe Connect with a platform.
- Click “Submit” to complete the onboarding process.
5. Authorize the Connection #
- After creating your account or logging in, Stripe will ask you to authorize the platform to access your Stripe account.
- Click “Authorize Access to This Account.”
- This grants the platform permission to manage payments and payouts on your behalf.
6. Return to the Platform #
- Once authorized, you will be redirected back to the platform.
- The “Connect to Stripe” button will now display as “Connected to Stripe.”
7. Verify Your Integration #
- To ensure your Stripe account is correctly linked:
- Log in to your Stripe dashboard.
- Navigate to the “Connected Accounts” section to see the linked platform.
- Test a payment transaction in your platform to confirm everything is working.


