Using the QR Code Scanner #
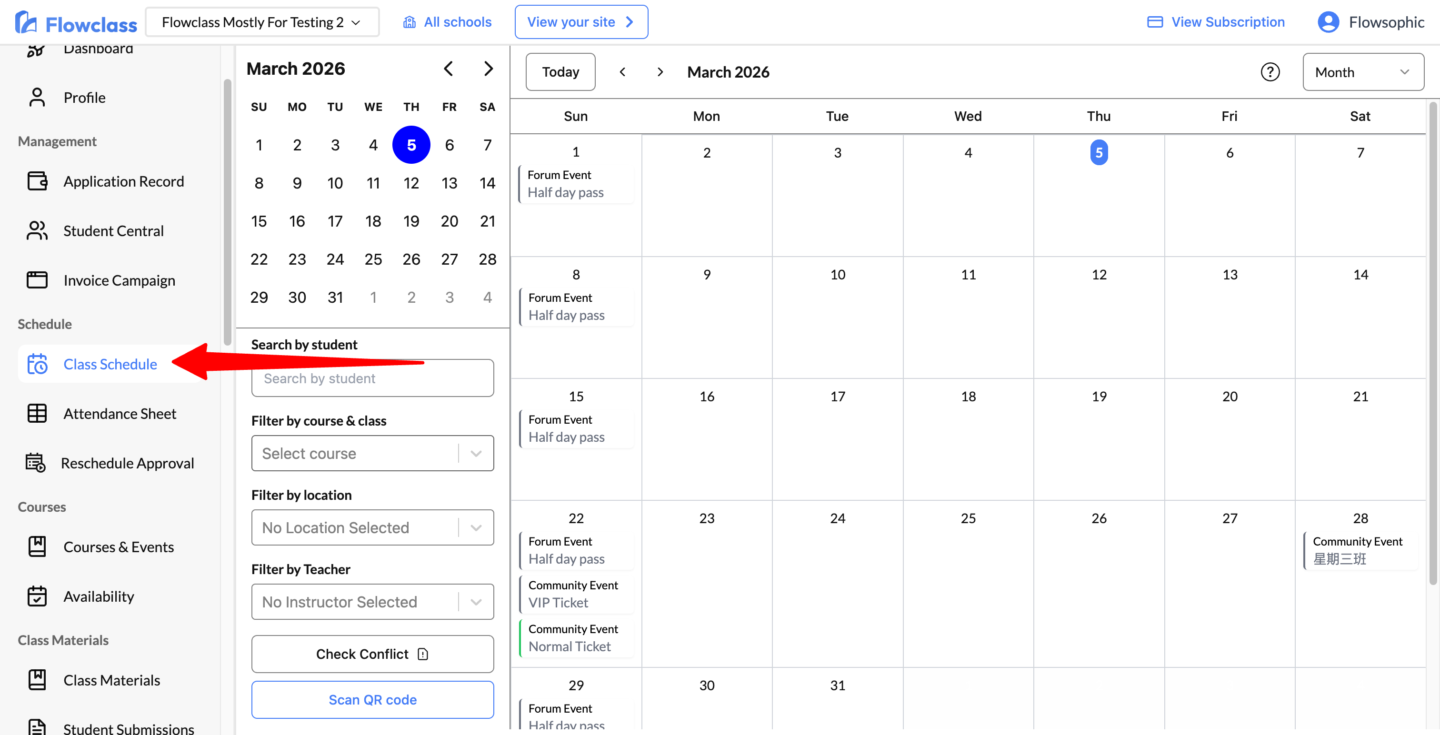
Step 1: Visit the student central #
You can also access by this link: https://app.flowclass.io/full-calendar
Step 2: Click on “Scan QR Code” #
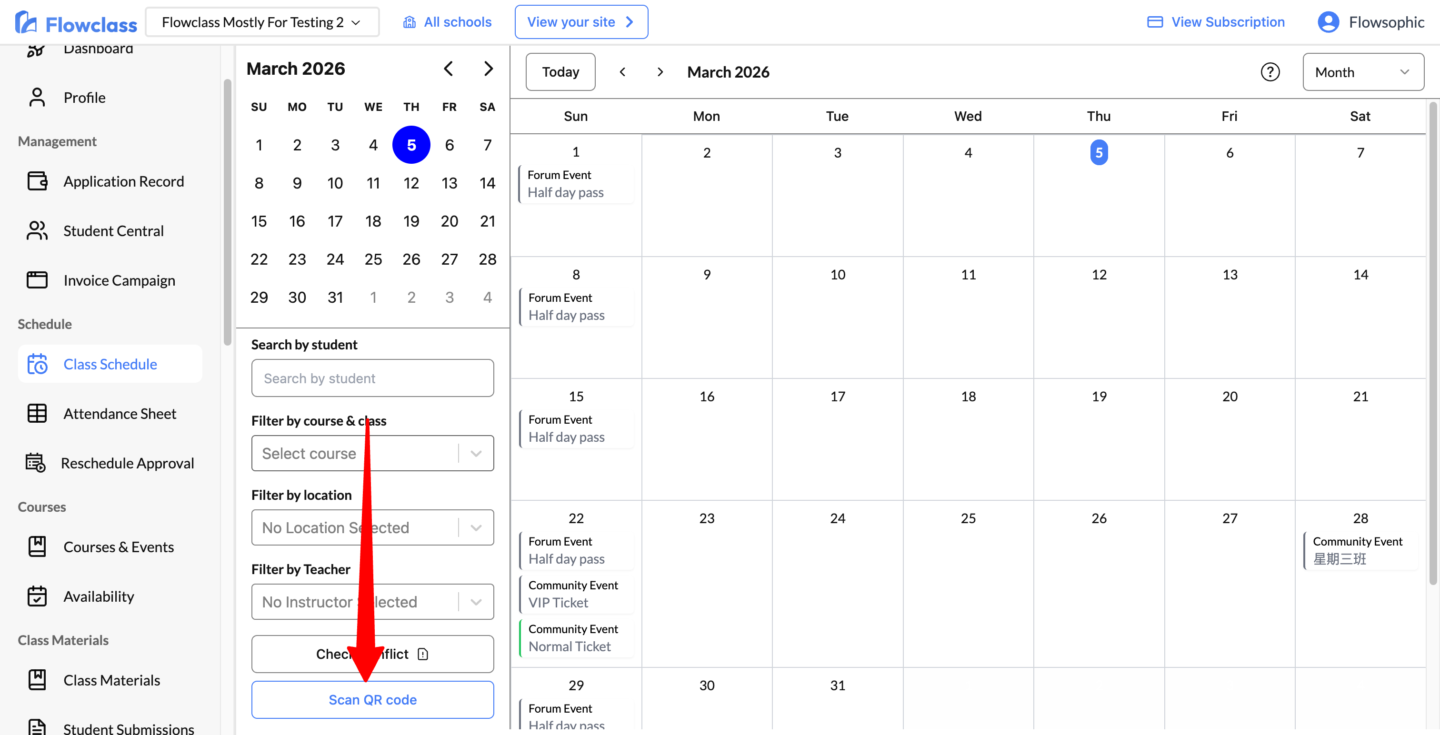
If permission is asked, click on “Always when visiting this website”

Step 3: Scan the QR Code #
If you have webcam connected, use the webcam instead.
Have trouble scanning the code?
Try to enlarge the QR code on the phone
Increase the brightness of the phone
Place the phone flat on a table, where the table has a dark background
Put the webcam close first, and then away
Step 4: Confirm attendance #
Click on the button on the left the mark the attendant’s status as “attended”

Step 5: Go to “Print Label” and select the fields #
Make sure the three rows are selected with the correct data.
The selections are saved into the storage for reuse next time

Step 6: Print the label #
Click on “Print Label”, and the label will be printed out with the connected label printer.
After printing, you can click on “back to scanner” to go back to the QR code scanner.

Troubleshooting #
Not all information is printed on the label #
Please make sure three rows are selected in the “Print Label” screen.
And make sure the correct fields are selected
1st Row: Name
2nd Row: Job Title (English)
3rd Row: Company / Organization (English)

If you realize some information is missing, you can add them in the database #
Step 1: Click on “View Detail” of the user who you need to add data

Step 2: Click on “+Add Custom Data Field”

Step 3: Select the correct field
Keep in mind that field that has been entered cannot be selected again.


