Step-by-Step Guide to Batch Print Labels Using Brother P-touch Editor #
Step 1: Download and Install P-touch Editor #
- Windows Users: Visit P-touch Editor – Brother (Windows) and download the software.
- Mac Users: Download from the Mac App Store.
- Follow the on-screen instructions to install the software on your computer.
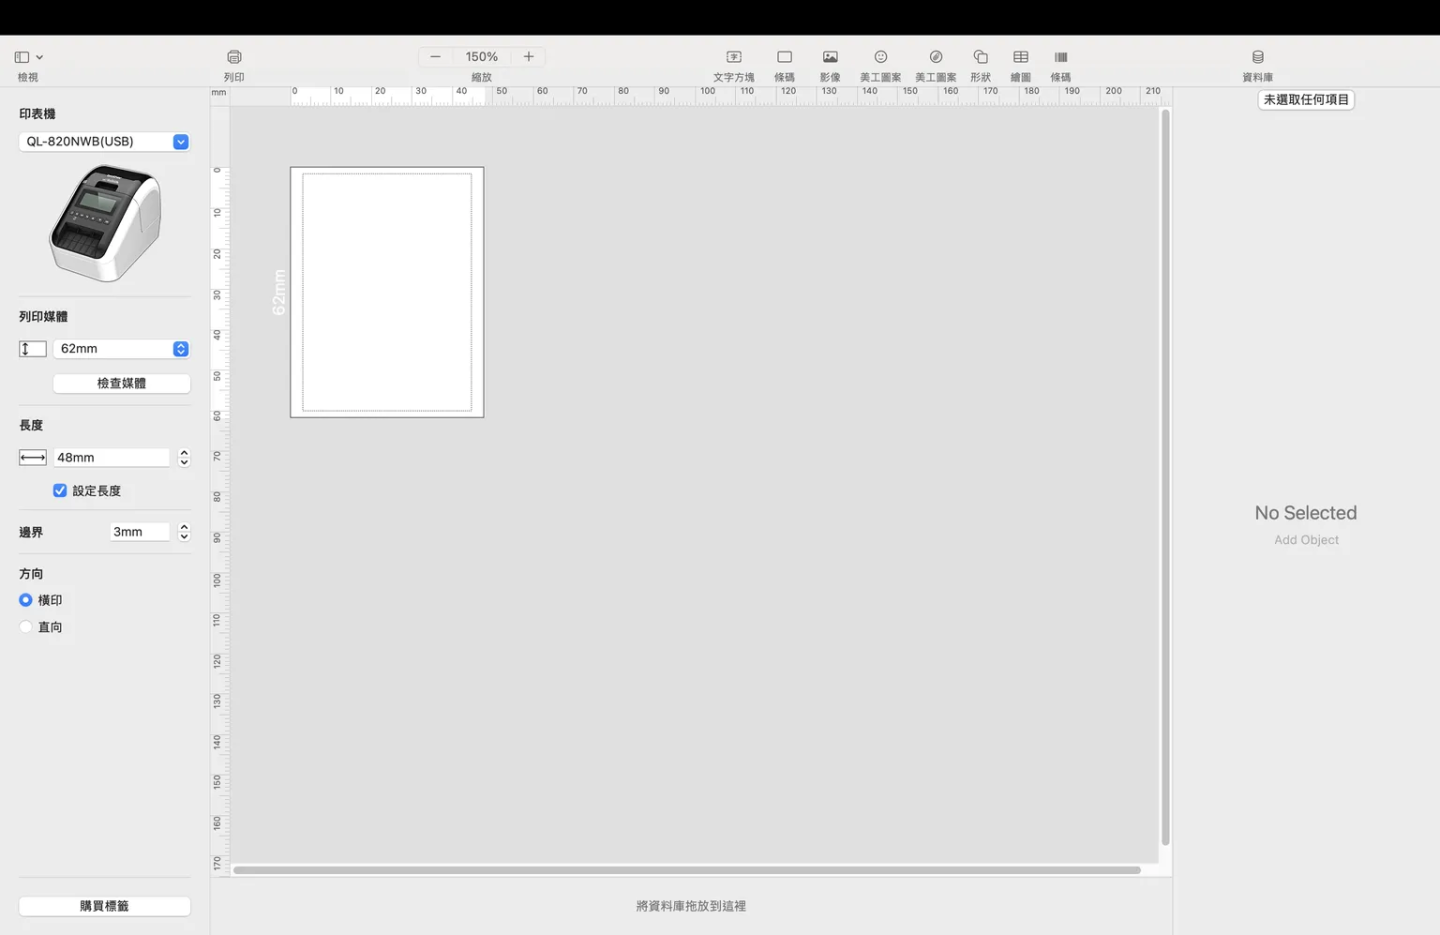
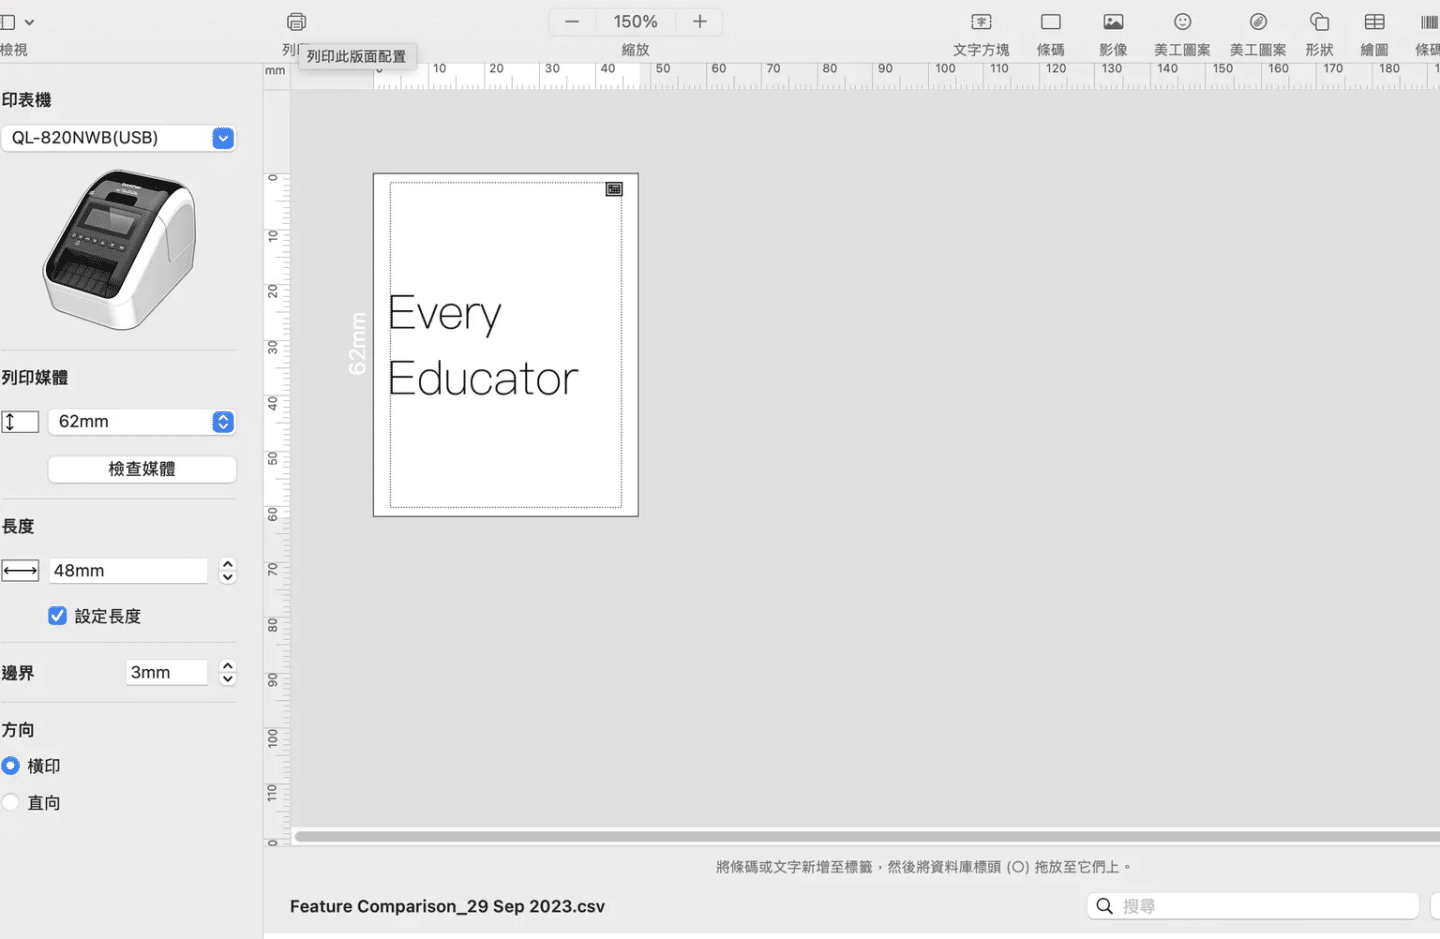
Step 2: Connect the Printer and Configure Settings #
- Connect your Brother label printer to your computer via USB or Wi-Fi.
- Open P-touch Editor.
- Select the connected printer from the list (e.g., QL-820NWB).
- Adjust the label settings as shown:
- Label Width: Set to match your label roll (e.g., 62mm).
- Label Length: Adjust based on your label size (e.g., 48mm).
- Margins: Set to preferred spacing (e.g., 3mm).
- Orientation: Choose Horizontal or Vertical based on your layout.
You can also download the following file with pre-built file
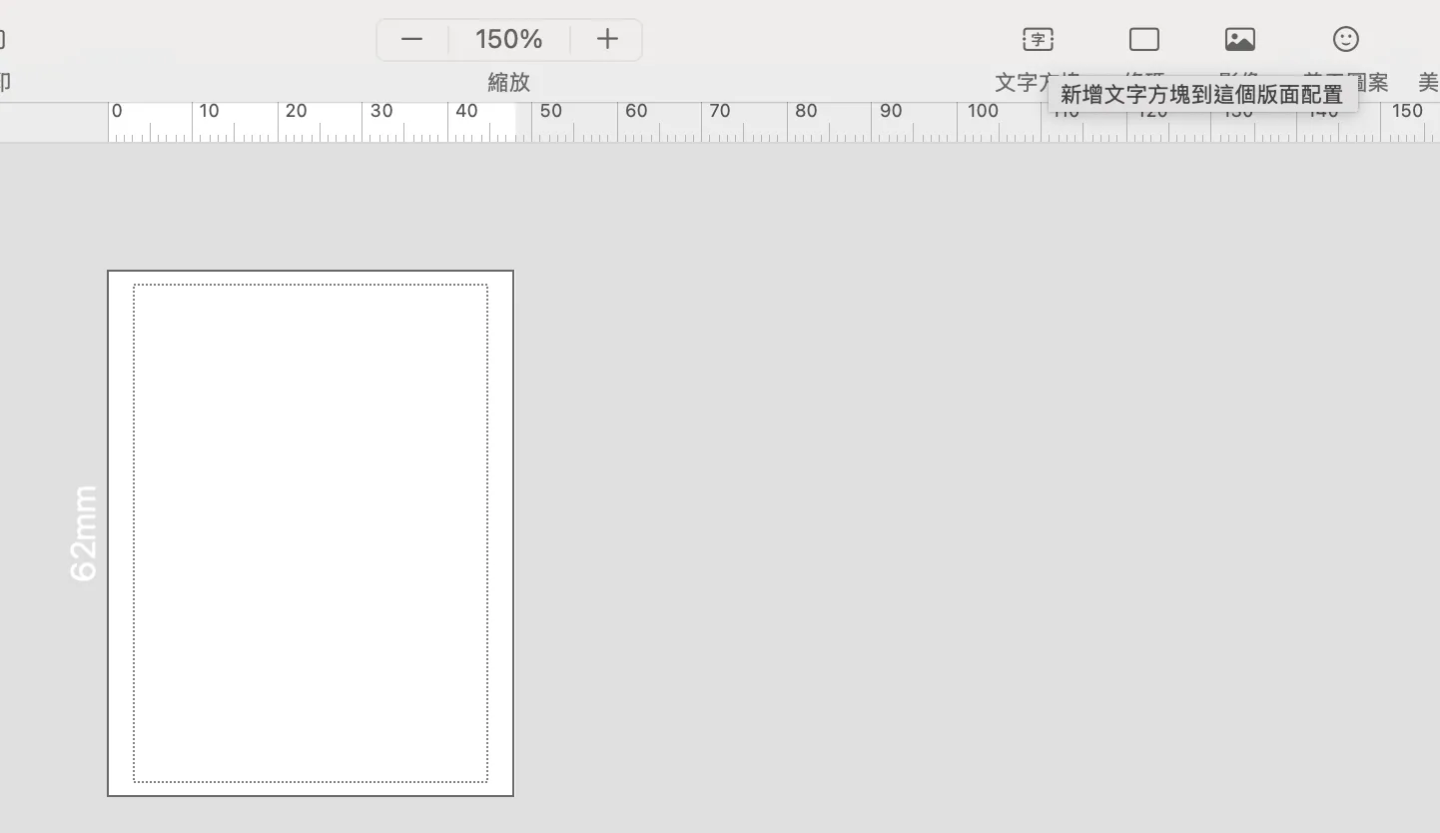
Step 3: Create a Template #
- In the P-touch Editor workspace, drag a text box onto the label design area.
- Resize the text box to fit the label by clicking and dragging its corners.
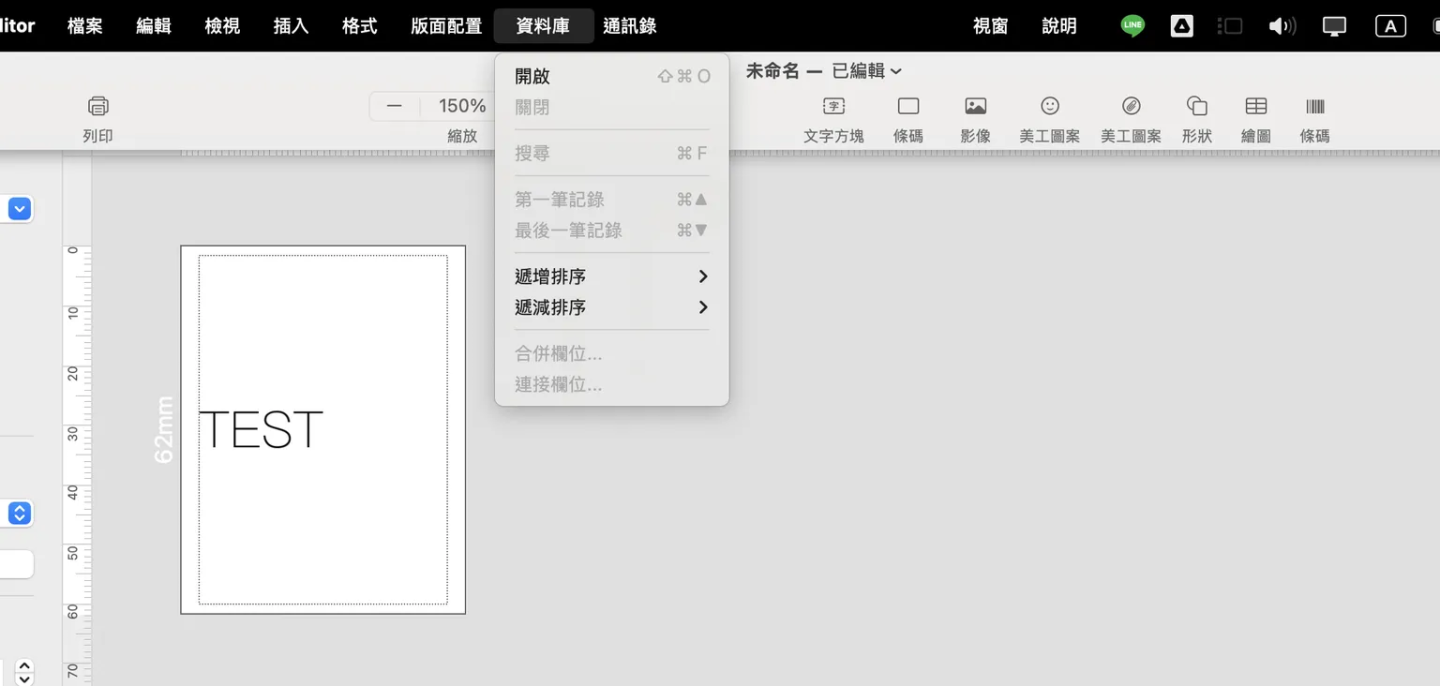
- Add sample text (e.g., “TEST”) to confirm the layout.
Step 4: Import Data from a CSV File #
- Click on the 資料庫 (Database) option in the toolbar.
- Select Connect or Upload CSV to import your data file.
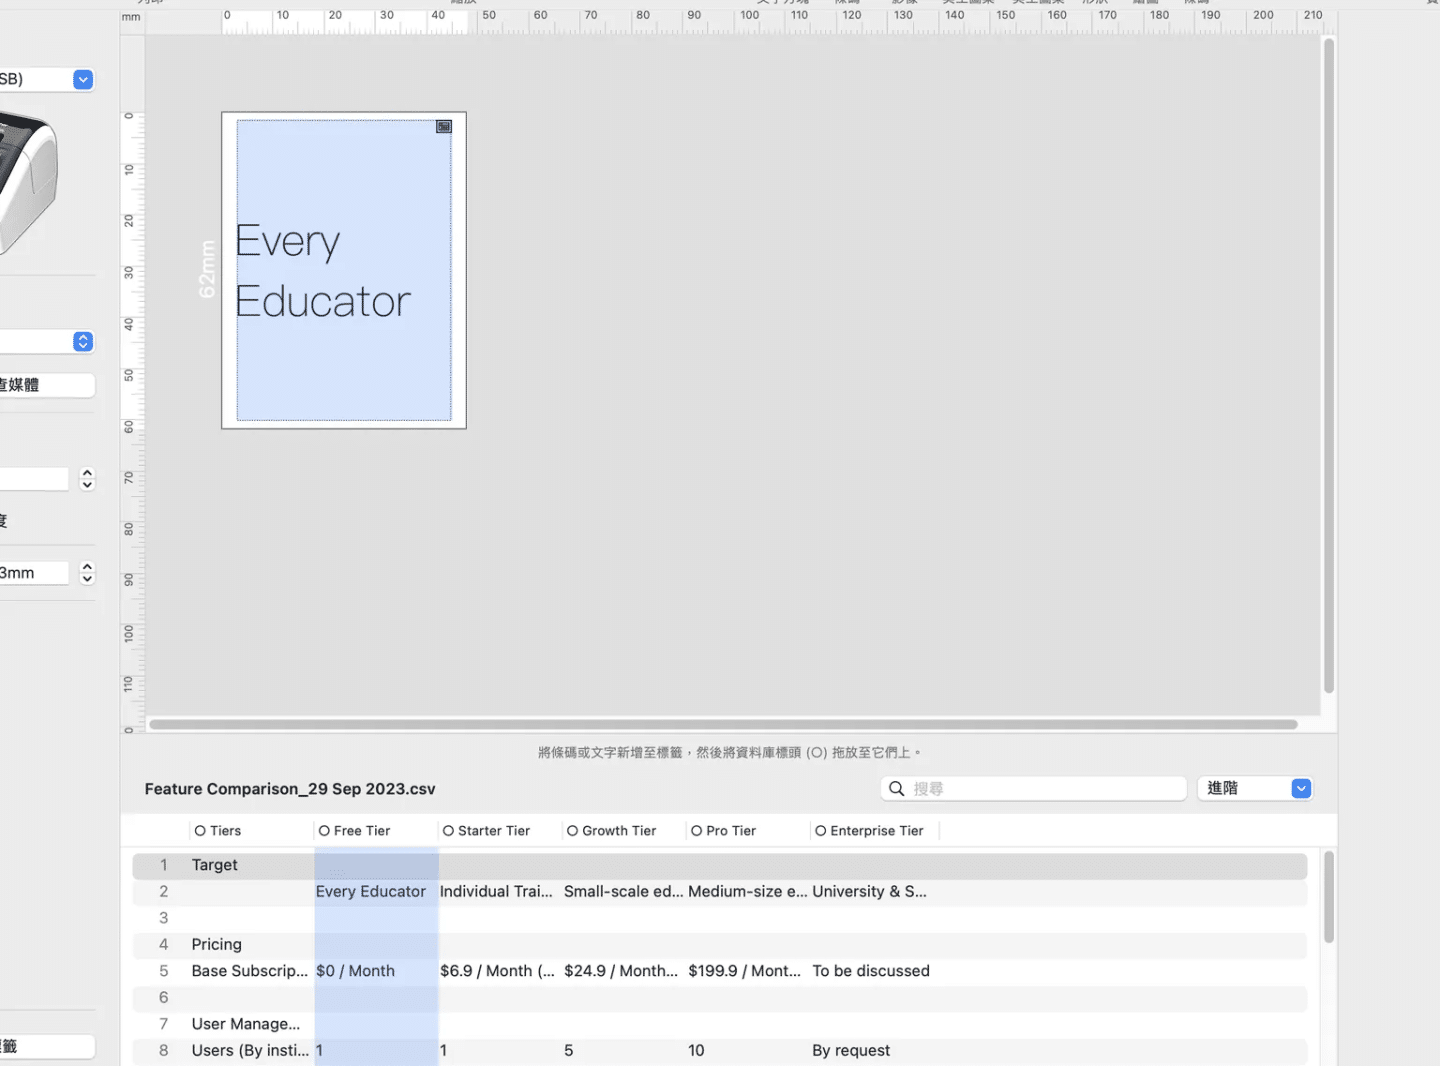
- Browse and upload the desired CSV file containing your data (e.g., name, address, barcode, etc.).
- The imported data will appear in a table at the bottom of the editor.
Step 5: Map Data to the Label Template #
- Click on a column in the CSV file (e.g., “Name”).
- Drag the field from the CSV table onto the text box in your label layout.
- Format the text (font, size, alignment) as required.
- Repeat for additional fields (e.g., barcode, address).
Step 6: Preview and Batch Print #
- Click Preview to ensure all data fields fit correctly within the label design.
- Select Print from the toolbar.
- Choose Batch Print to print all labels in the CSV file.
- Adjust print settings if necessary and click OK to start printing.
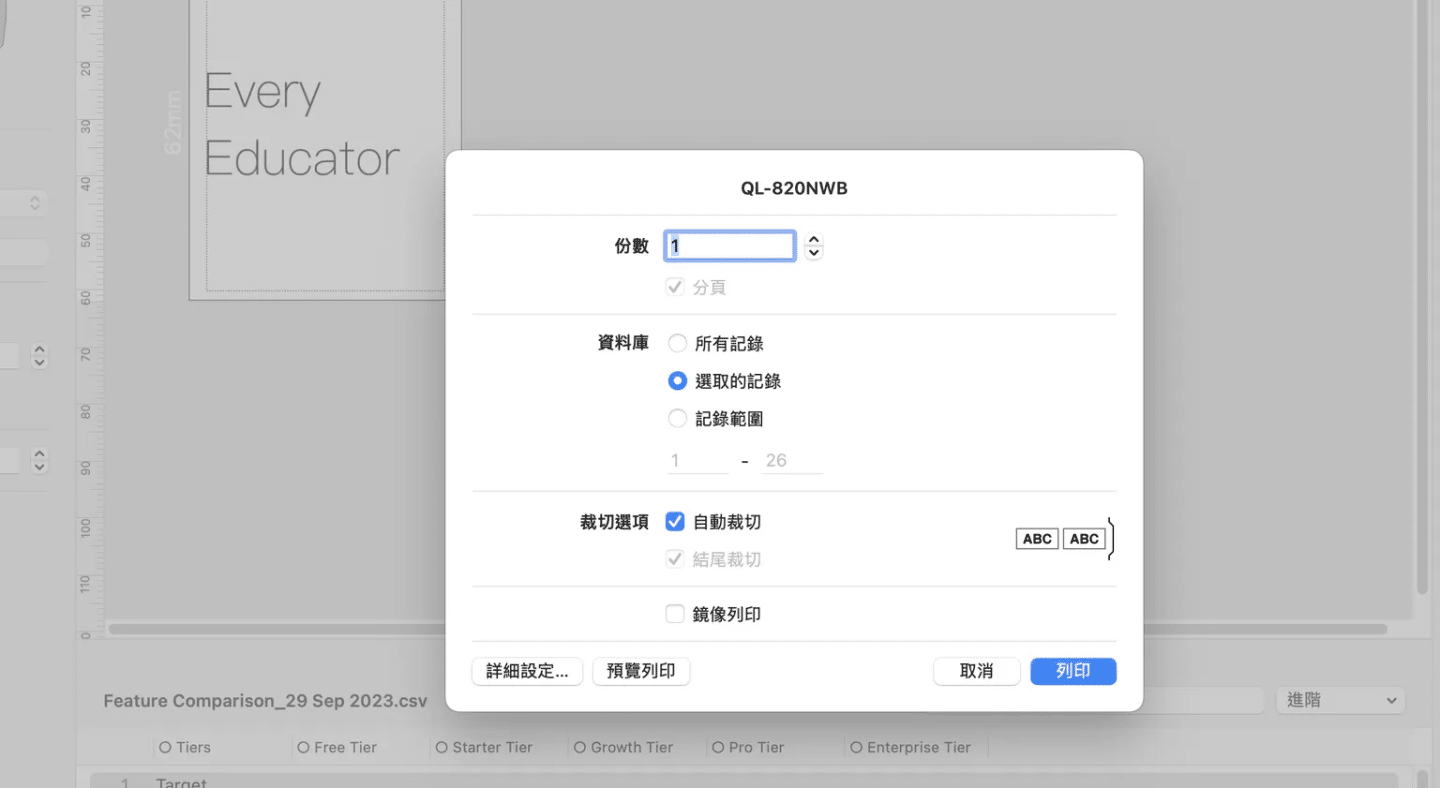
Step 7: Initiate the Printing #
- Adjust Print Settings:
- Number of Copies (份數): Set the number of copies you want to print.
- Database Records (資料庫): Choose one of the following:
- 所有記錄 (All Records): Prints all records in the CSV file.
- 選取的記錄 (Selected Records): Prints only the selected records.
- 記錄範圍 (Record Range): Specify a range of records to print (e.g., 1-26).
- 裁切選項 (Cut Options): Enable 自動裁切 (Auto Cut) to ensure proper cutting between labels.
- Start Printing:
- Click the 列印 (Print) button to begin printing.
- Wait for the printer to complete the task. Your batch labels will be printed.
Step 8: Save Your Template #
- Once you’ve completed the batch printing, save the label design as a reusable template:
- Go to File > Save As and name your template for future use.
Additional Tips #
- Save the Template: Save your label design as a template for future use by selecting File > Save As.
- Check Printer Alignment: Ensure the label roll is properly aligned in the printer to avoid misprints.
- Use Built-in Tools: Utilize features like barcodes, clip art, and shapes for a professional finish.
By following these steps, you can efficiently create and batch print labels for your business or personal needs.


