Administrator Settings and Approval Process #
📍 Accessing the Rescheduling Settings Page #
In the administrator menu, select “Class Change Request Approval”.
Once entered, you can see all student rescheduling request records.
There’s a button in the top right corner “Course Rescheduling Settings” → Click to set rescheduling rules.

⚙️ Rescheduling Function Settings Explanation #
After opening the settings window, you’ll see the following options:

1. Select Course #
- Allow students to reschedule to other courses.
- If disabled, students can only adjust classes within their original course and cannot apply across courses.
2. Select Class #
- Allow students to choose other class schedules within the same course.
- This option only takes effect when “Select Course” is enabled, allowing students to move between available time slots.
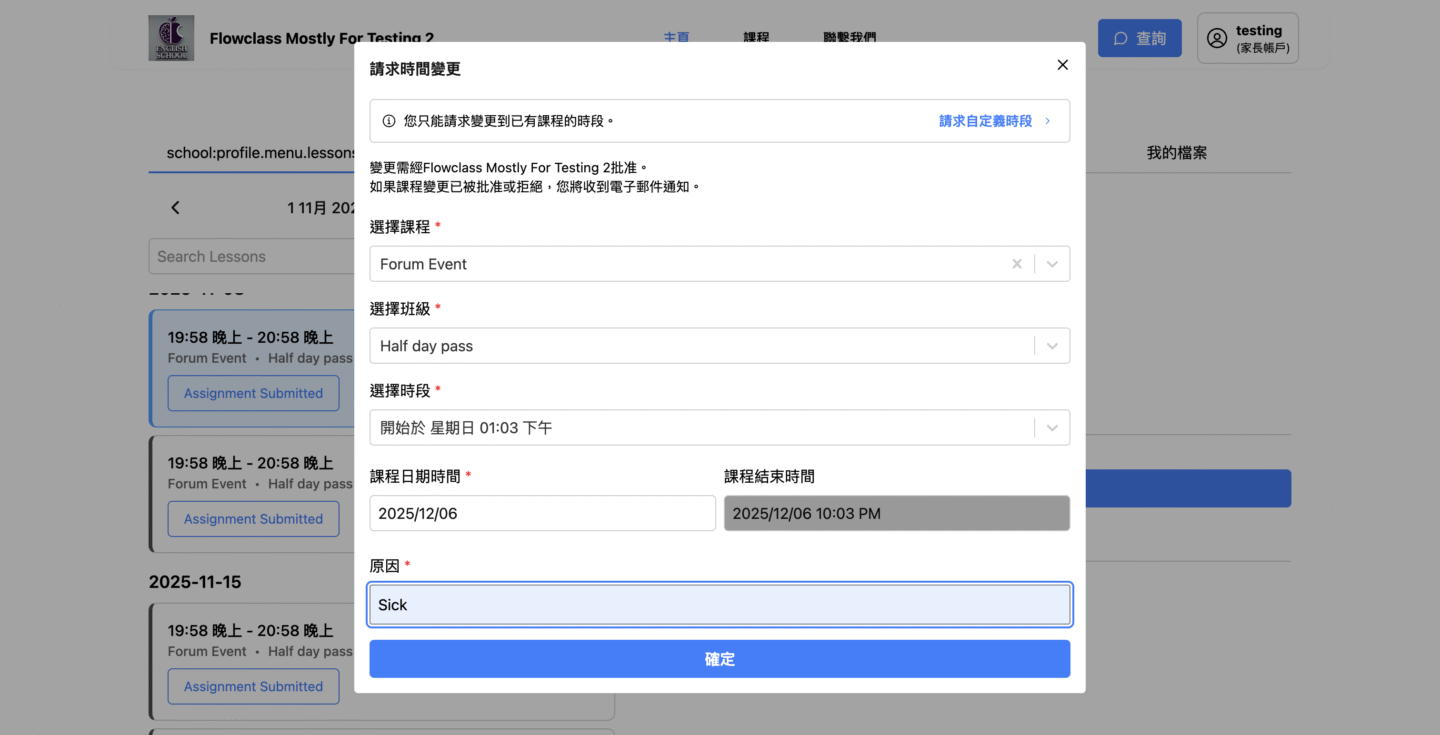
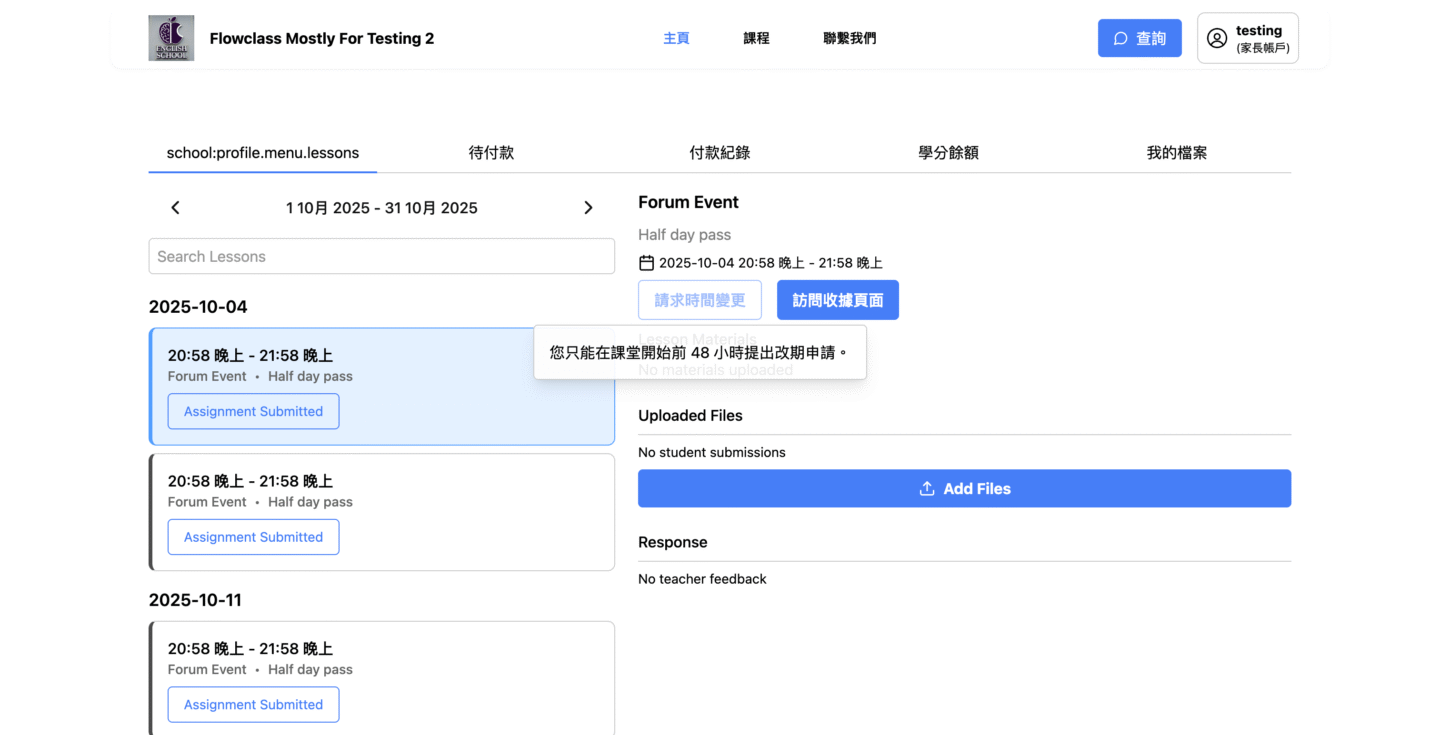
3. Minimum Advance Request Hours #
- Set how many hours before class starts students must submit their rescheduling request, otherwise the system will automatically reject the application.
- For example, setting it to 48 hours ➜ Students need to submit requests at least two days before class.
After completing settings, click “Yes, Confirm” to save.
🧾 Rescheduling Request Approval Process #
Return to the “Class Change Request Approval” main page, where you’ll see the student application list:
| Column | Description |
|---|---|
| Status | Shows whether approved, rejected, or pending |
| Availability Status | Click “Check Availability” to check if the new time slot is available |
| Name / Course Name | Shows applicant and enrolled course |
| Current Course Time | Student’s original class date and time |
| Time Until Original Start | Calculates remaining time interval when submitted |
✅ Approve/❌ Reject Application #
- Approve: When the student’s new class time fits with instructor and venue availability, click “Approve” to confirm.
The system will automatically update the enrollment record’s class date.
Students will receive notification email and see the new class date on their course page. - Reject: If time doesn’t work or there’s a venue conflict, click “Reject”. Students will see “Rejected” notification and keep their original class unchanged.

🪄 Changes after Rescheduling Takes Effect #
Enter Student Management Center, find that student’s enrollment record, and you’ll see:
Example:
“2025/09/18 (Thu) 3:00–4:00 PM” → Changed to “2025/11/14 (Fri) 3:00–4:00 PM”
This indicates the course schedule has been officially updated and synchronized with instructor time adjustments.


