The Brand & Links section allows you to personalize your platform’s appearance and branding, ensuring your website aligns with your identity. Follow these steps to customize your school or organization’s branding.
Set Images #
Step 1: Navigate to the “Brand & Links” Section #
- Log in to your account on the platform.
- In the left-hand menu, locate and click on “Brand & Links” under the Settings section.
- Tip: The arrow in the image highlights the “Brand & Links” button for easy identification.
Step 2: Upload Your Logo #
- In the Logo section:
- Click the “Upload Image” button under the logo placeholder.
- Select and upload an image from your device that represents your brand.
- Recommended Dimensions: Use an image with a 1:1 aspect ratio and a width greater than 200 pixels for optimal display.
- Once uploaded, your logo will appear in the navigation bar of all pages.
Step 3: Add a Banner Image #
- In the Banner Image section:
- Click the “Upload Image” button.
- Select and upload a banner image from your device.
- Recommended Dimensions: Use a 16:9 aspect ratio with a width greater than 1,000 pixels for the best results.
- The banner image will be prominently displayed on your site’s headers or landing pages.

Set Name & Link #
Step 4: Update Your School Name #
- In the Name of Your School field:
- Enter the official name of your school or organization.
- This name will appear in the website header, search results, and all emails sent to students.
Step 5: Customize Your School Alias #
- In the Enter Your School Alias field:
- Input a unique alias for your school (e.g.,
flowclass-demo-school). - This alias will create a customized link for your website, such as:
https://demo.flowclass.io/@flowclass-demo-school. - Note: If you change this alias, previous links will no longer work.
- Input a unique alias for your school (e.g.,
Step 6: Choose a Site Theme Color #
- In the Site Theme Color section:
- Click the color picker or input a hex color code (e.g.,
#5c95ff) to match your brand’s color scheme. - This color will be applied to various elements of your site, such as buttons and headers.
- Click the color picker or input a hex color code (e.g.,
Set School Template #
Step 1: Locate the Templates Section #
- Navigate to the Brand & Links page from the left-hand menu under Settings.
- Scroll down to the Templates section, where you can select from a variety of options to customize your site’s layout.
Step 2: Understand the Available Templates #
1. Barebone
- Description: A simple and minimalistic template with a focus on content.
- Best For: Users who want a clean, no-frills design that prioritizes functionality over visuals.
- Features:
- Minimal styling.
- Basic structure for essential information.
2. Minimal
- Description: A sleek and modern template with subtle design elements.
- Best For: Schools or businesses that want a professional yet understated look.
- Features:
- Focuses on a clean aesthetic.
- Highlights key content without overwhelming visuals.
3. Vertical
- Description: A vertically scrolling layout that organizes content in stacked sections.
- Best For: Websites with a lot of information to present in a sequential or storytelling format.
- Features:
- Vertical flow of content.
- Good for content-heavy pages.
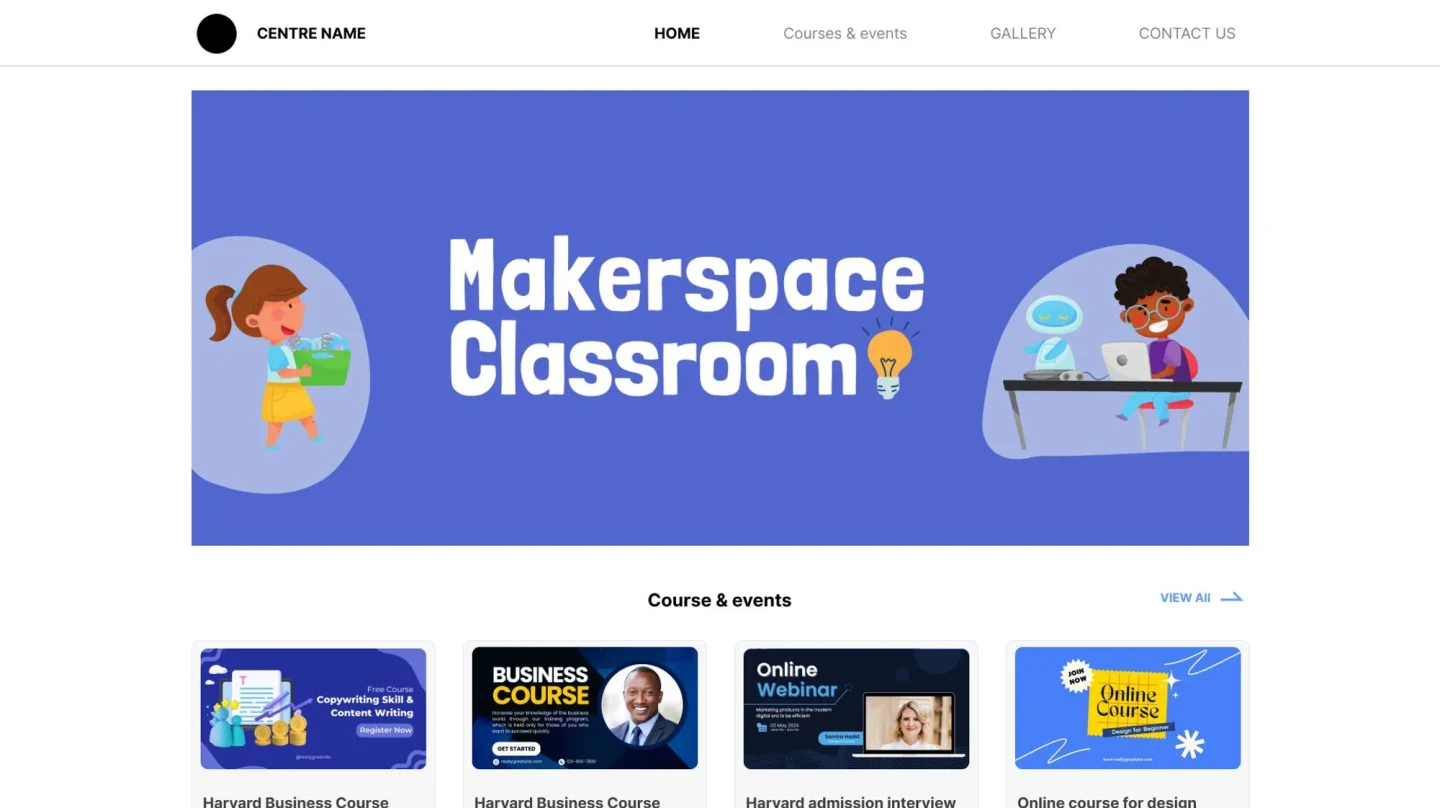
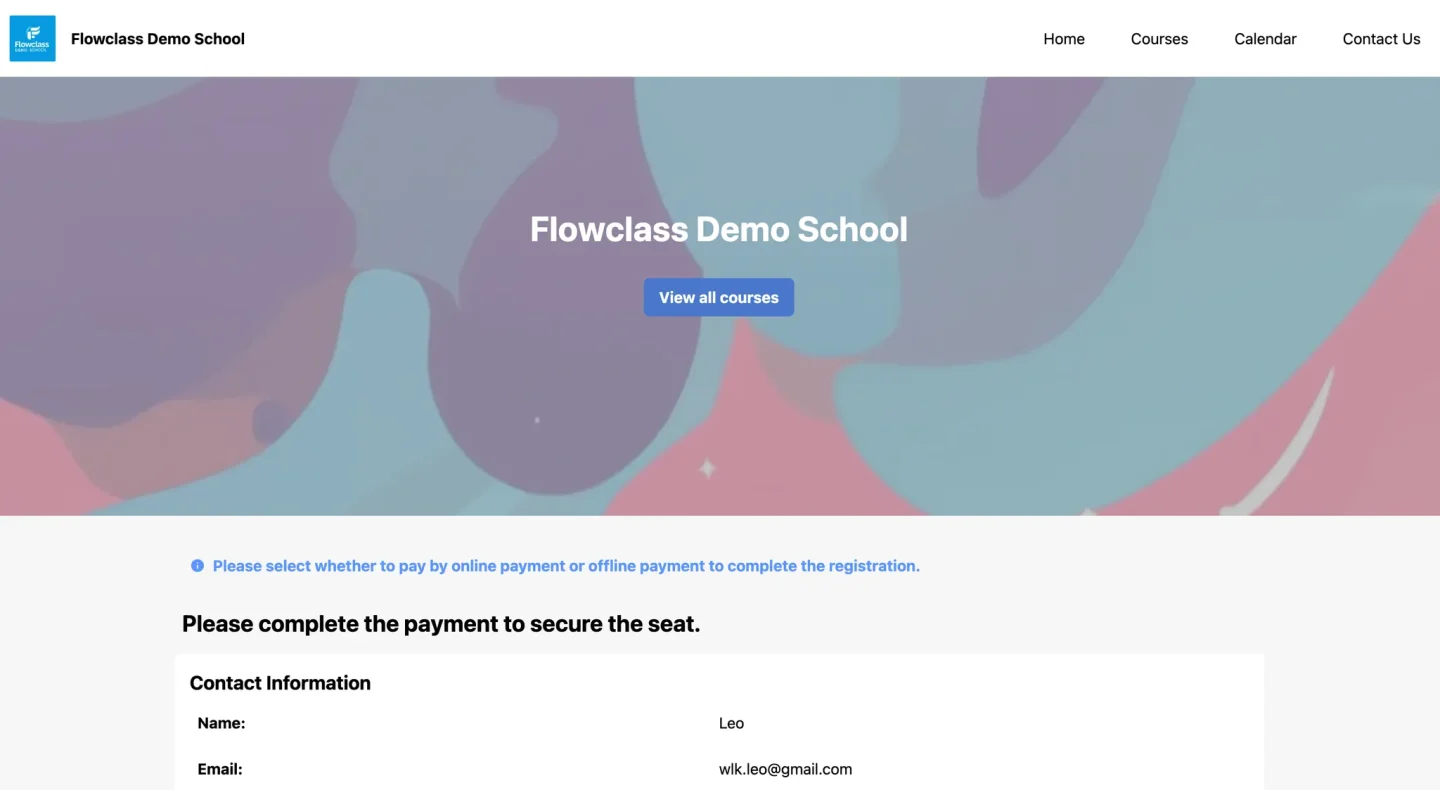
4. Hero (Selected by Default)
- Description: A visually rich template featuring a prominent hero image at the top of the page.
- Best For: Standalone websites that need a striking first impression.
- Features:
- Large hero image at the top for immediate visual impact.
- Ideal for promoting featured courses or announcements.
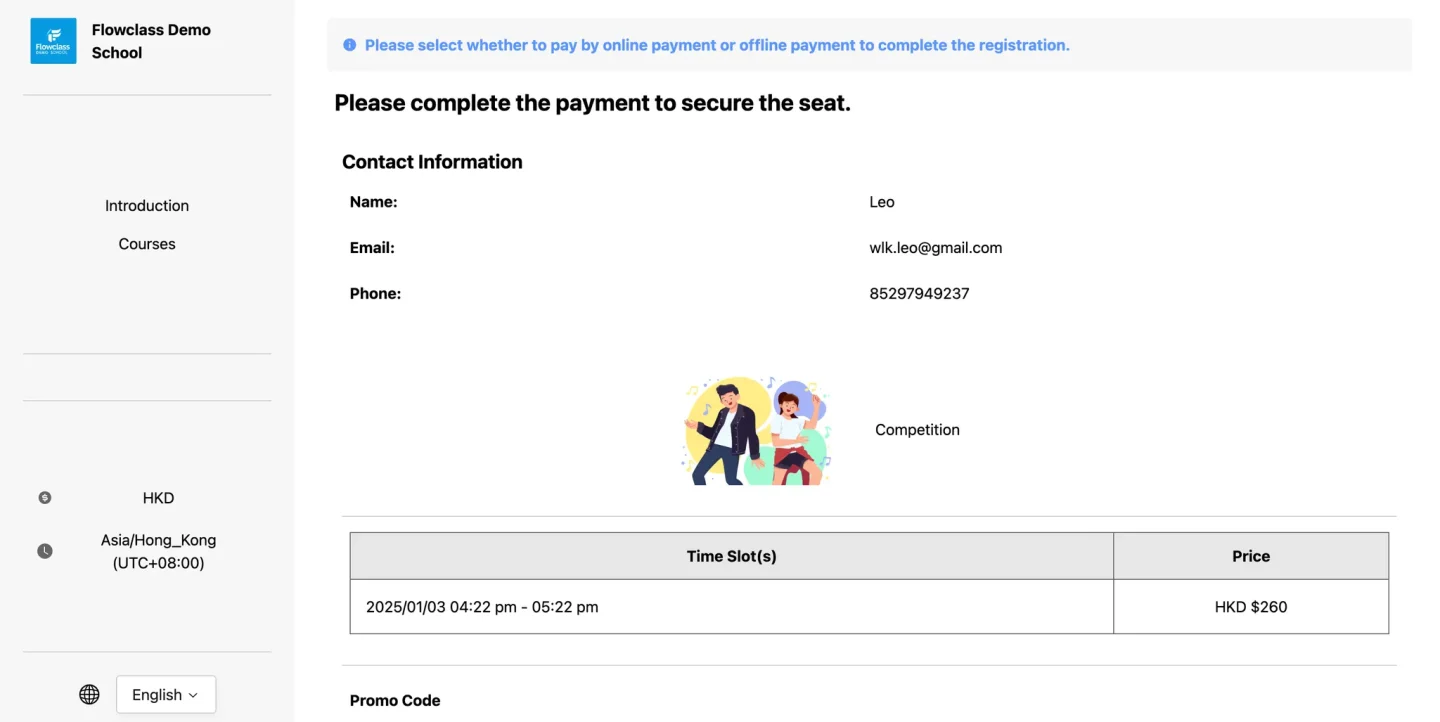
Choose your language #
Double check your language, currency and timezone here: https://app.flowclass.io/site/settings/country.

All the time and currency on your site will be based on your location settings.
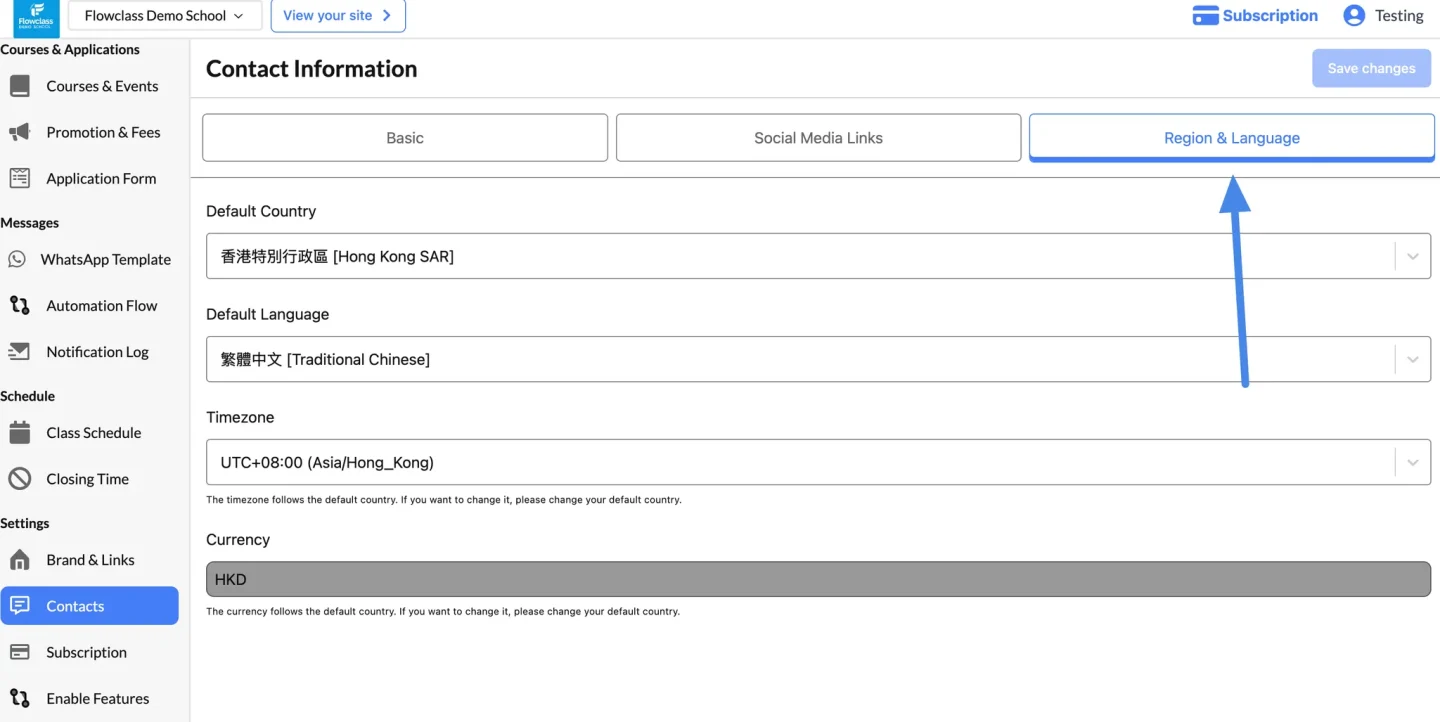
You can confirm the currency and timezone used on the site on the bottom.