Where Contact Information is Displayed #
The Contact Information Setup feature allows you to configure essential contact details, ensuring they are displayed effectively on your website.
Key Display Locations: #
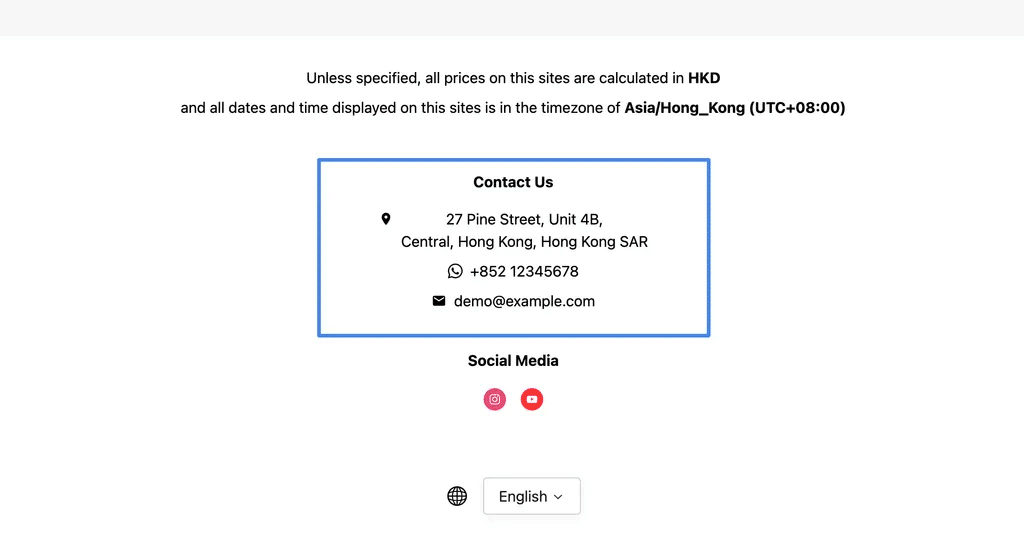
- Footer Section:
- Always visible, includes address, phone, email, and social media icons.
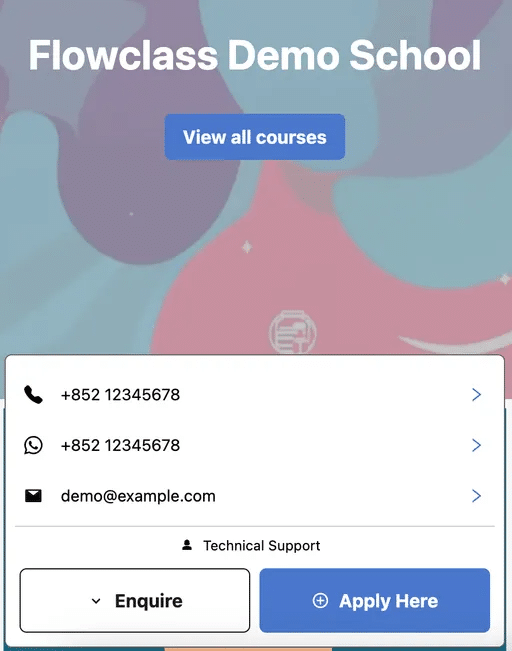
- Contact Us Page:
- Dedicated section with detailed contact options and full social media URLs.
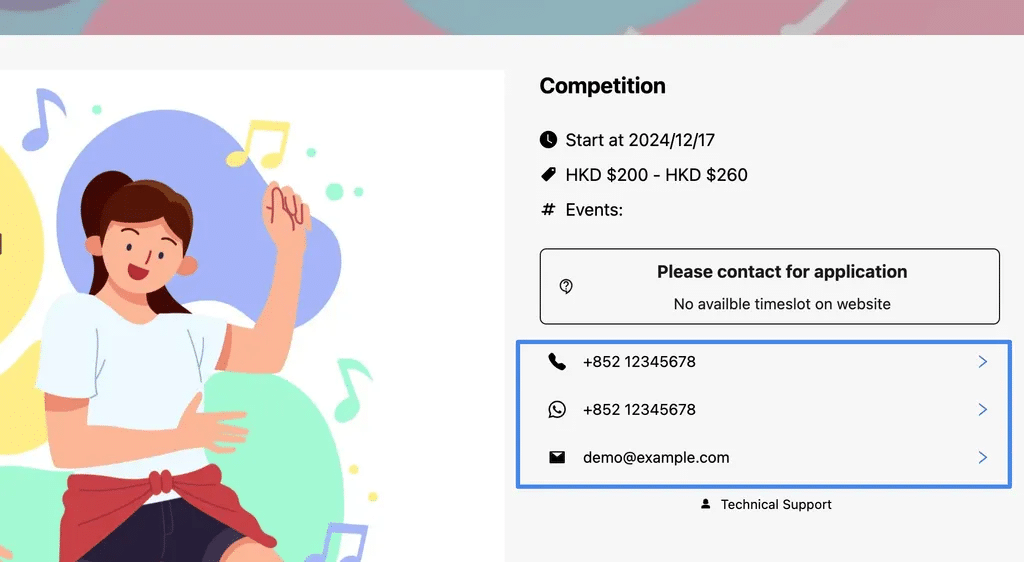
- Event/Competition Pages:
- Quick access to contact info (phone, WhatsApp, email) for event-specific inquiries.

Entering Contact Information & Channels #
Step 1: Access the Contact Settings #
- Log into your website dashboard.
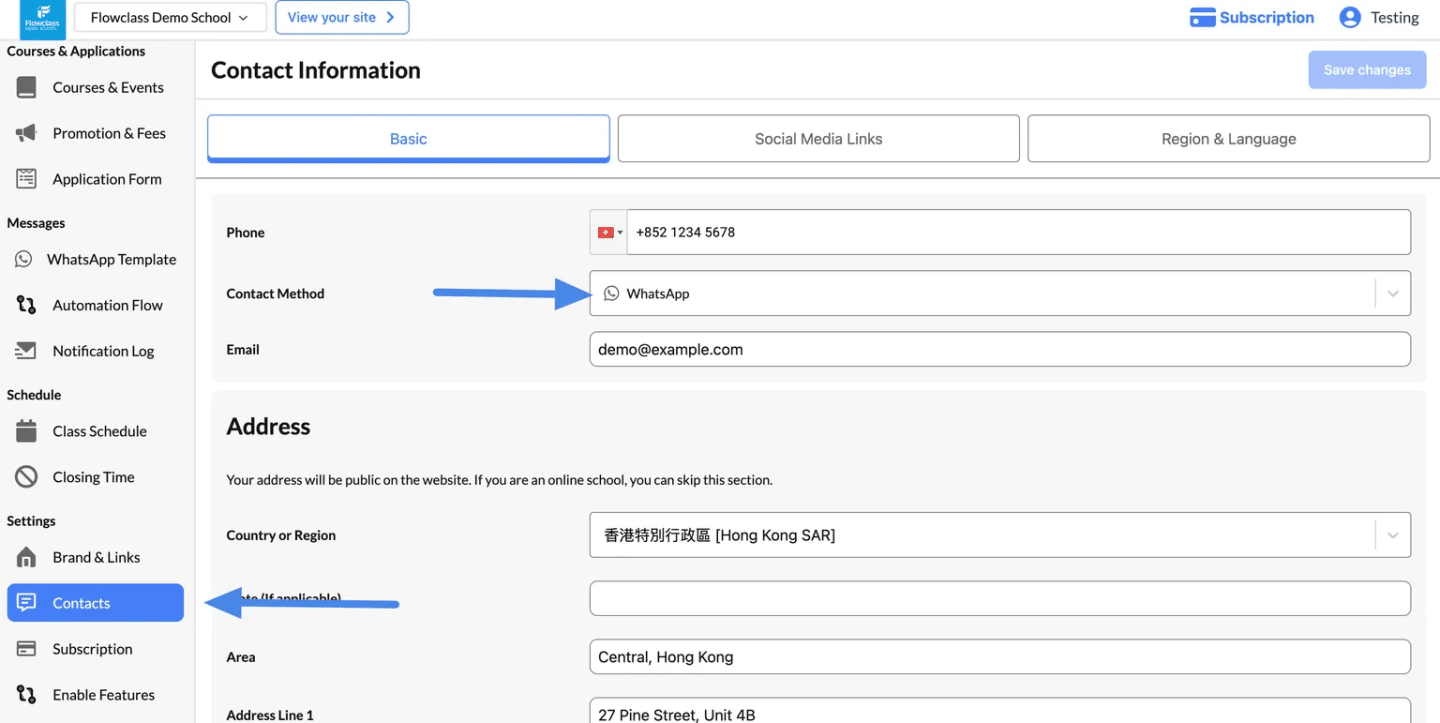
- Navigate to the Contacts tab under Settings from the left-hand menu.
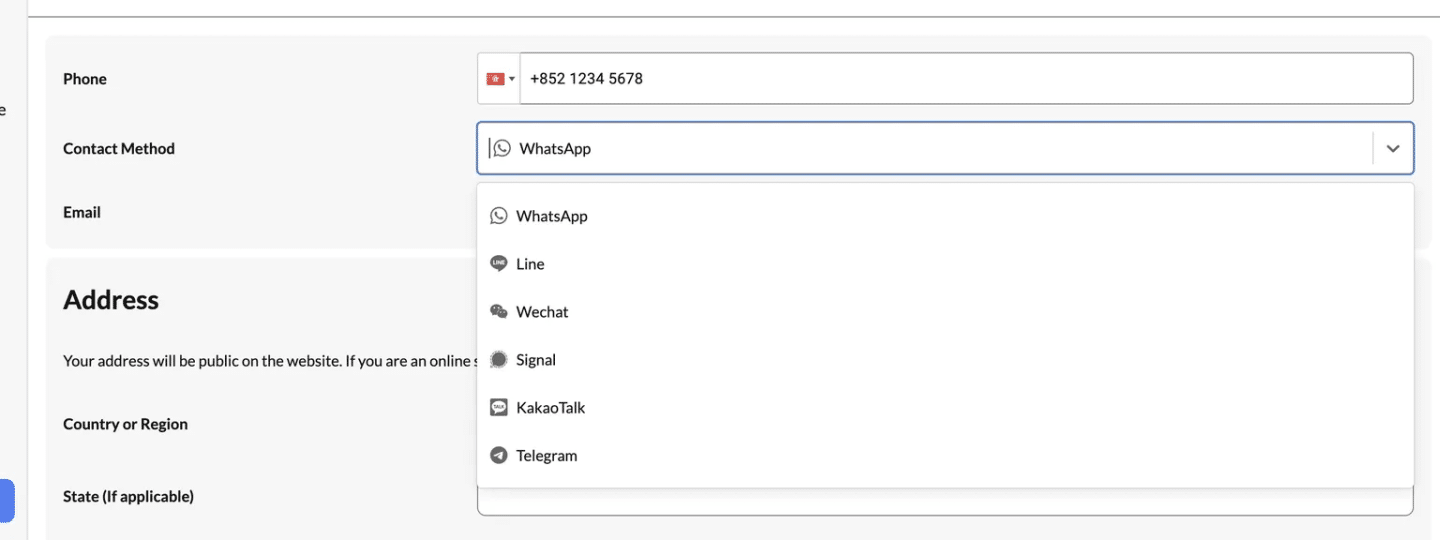
Step 2: Add Your Phone Number #
- Enter your phone number with the correct country code.
Dynamic Contact Channel Links
Selecting a Contact Method will automatically generate a direct link on your website, ensuring users are seamlessly directed to the correct communication channel.
Choose your preferred channel from the dropdown menu:
- WhatsApp: Creates a clickable link to start a chat on WhatsApp.
- Line, WeChat, Signal, KakaoTalk, or Telegram: Generates a direct link to the respective messaging platform.
- Save your changes.
Step 3: Enter Your Email Address #
- Add a valid email address where users can reach you.
- This email will appear on your website as a clickable link for quick access.
Step 4: Configure Your Address (Optional) #
- If you operate from a physical location, provide your:
- Country/Region
- City/Area
- Address Line (e.g., street and unit number).
- If you’re an online-only business, you can skip this section.
Step 5: Preview and Save #
- Click Save Changes at the top of the page.
- Use the “View Your Site” button to preview how your contact information appears on your website.


