Setting Up Description #
The Page Content feature allows you to customize and organize text-based information on your homepage. It provides a rich text editor with various formatting options, enabling you to create visually appealing and structured content. Follow these steps to set up and format your page content effectively.
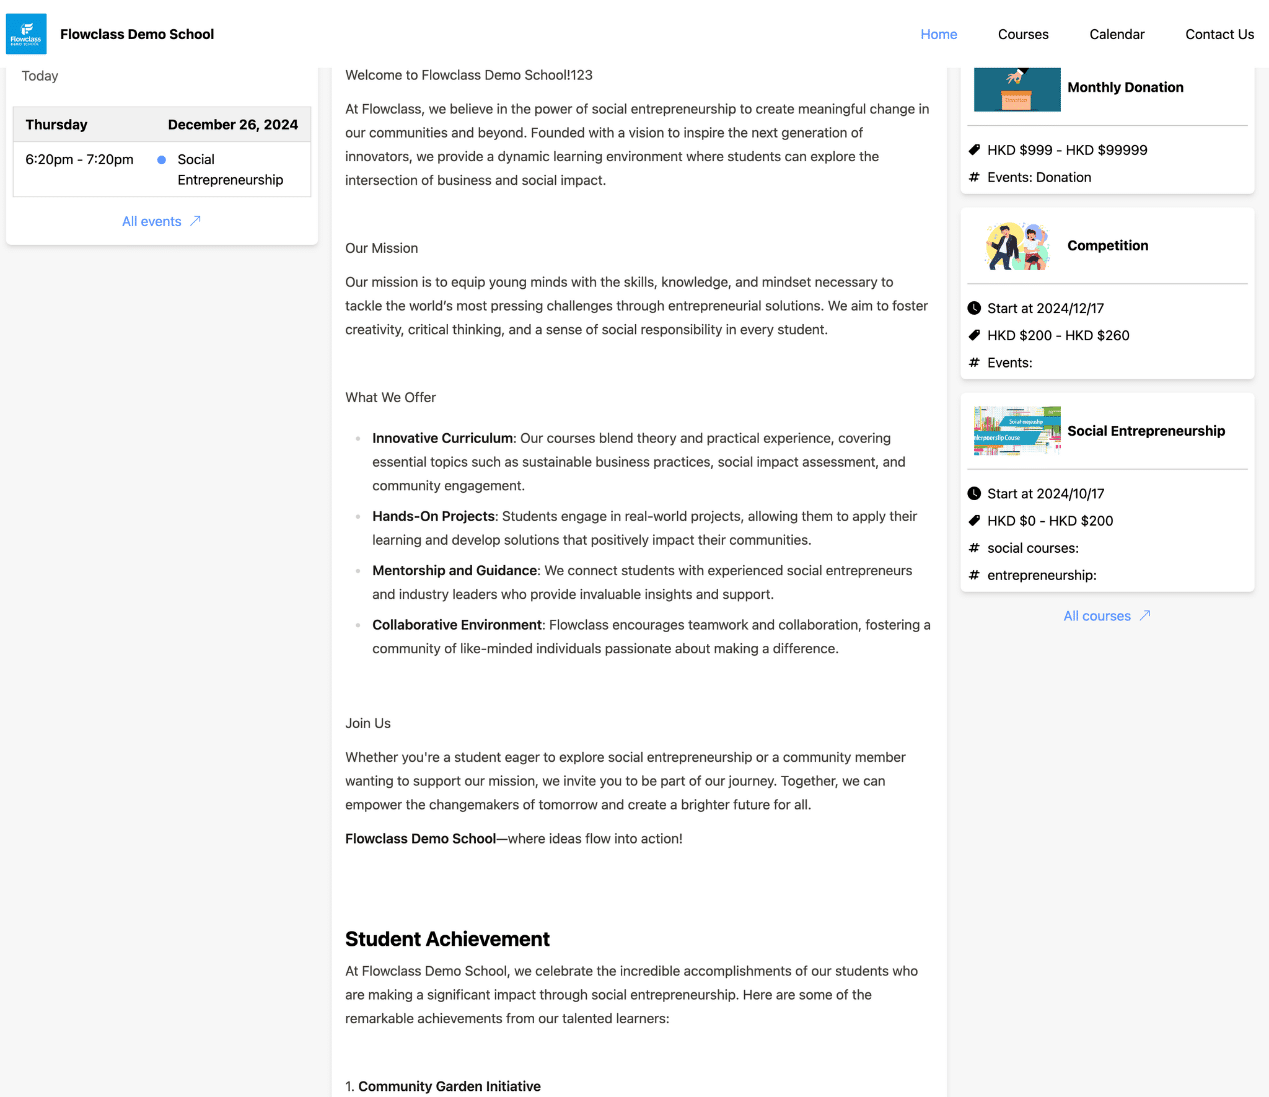
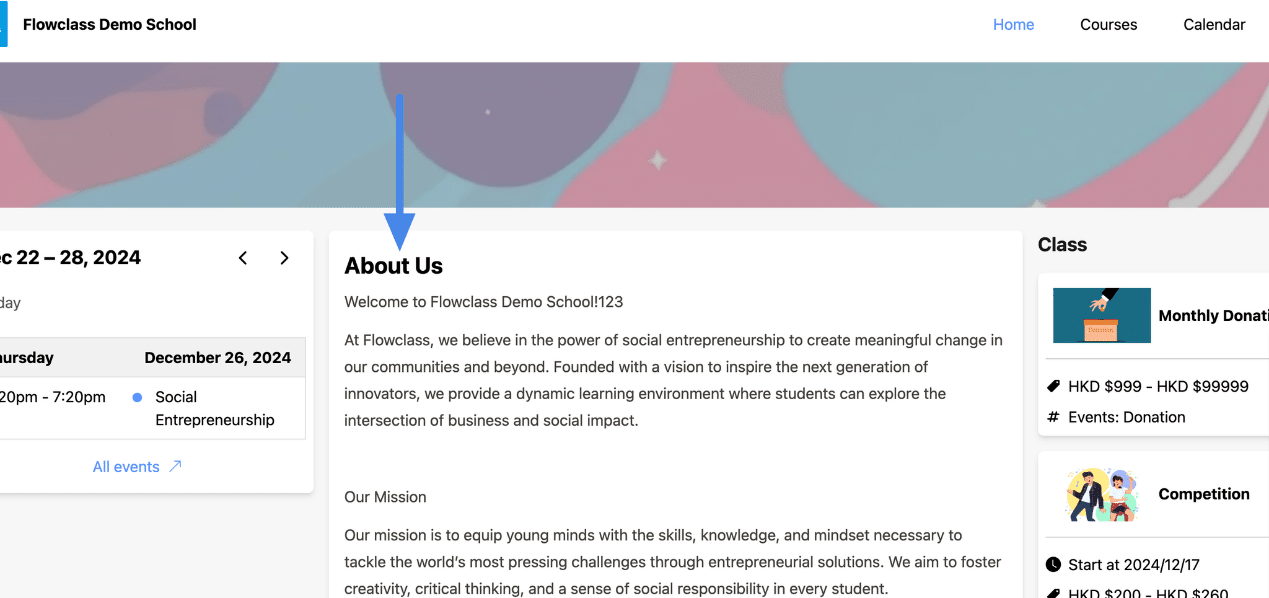
How it looks on the website
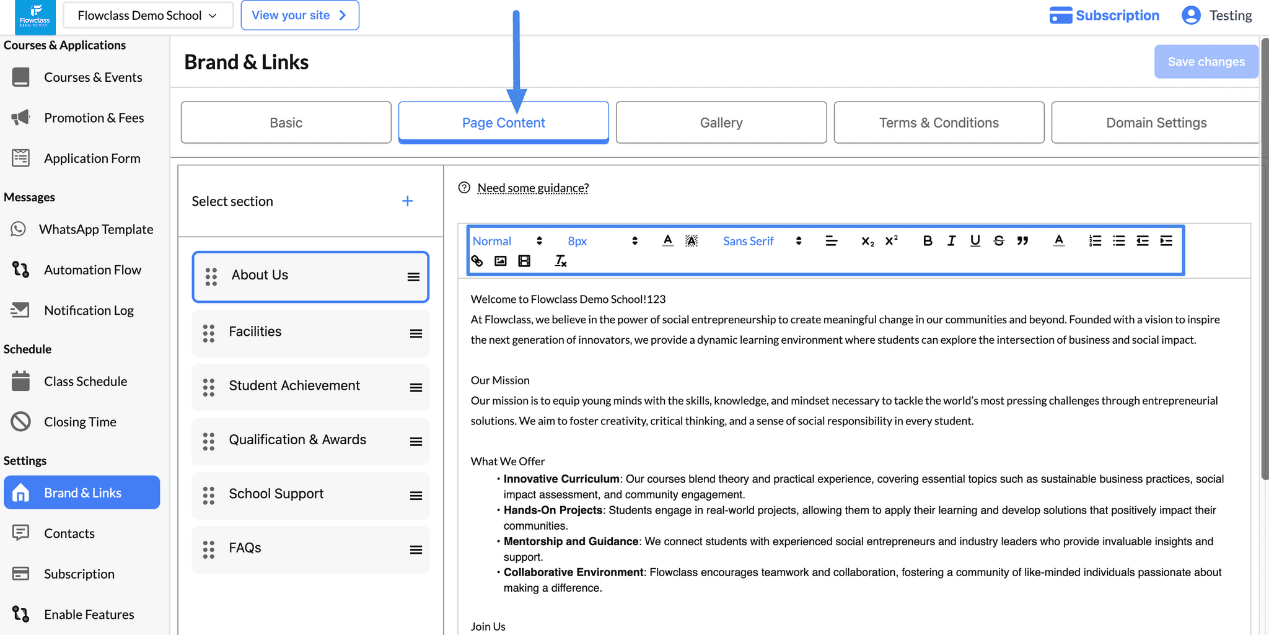
Step 1: Navigate to the Page Content Tab #
- Go to the Brand & Links page from the left-hand menu under Settings.
- Click on the “Page Content” tab at the top of the page (highlighted in the image).
Step 2: Select a Section #
- Use the “Select section” menu to choose the page content section you want to edit. Common sections include:
- About Us: Share your organization’s mission, vision, and values.
- Facilities: Highlight your facilities, such as classrooms, labs, or campuses.
- Student Achievement: Showcase awards, milestones, and success stories.
- Qualification & Awards: List instructor qualifications, certifications, and recognitions.
- School Support: Provide details on how your organization supports its students (e.g., mentoring, resources).
- FAQs: Answer common questions for prospective students or visitors.
Step 3: Edit the Content #
- In the editor, you can type or paste text for the selected section.
- Use the formatting toolbar to enhance your content:
- Text Formatting:
- Bold (B) and Italic (I) to emphasize text.
- Underline (U) and Strikethrough for styling variations.
- Font Options:
- Change font size (e.g., 8px, 10px) and style (e.g., Sans Serif).
- Alignment:
- Align text to the left, center, right, or justify it.
- Lists:
- Create numbered lists or bulleted lists for structured content.
- Special Formatting:
- Add blockquotes for highlighting key statements.
- Use superscript (x²) and subscript (x₂) for scientific or mathematical content.
- Links and Media:
- Insert hyperlinks to direct users to relevant pages or resources.
- Add images or videos to make the content visually engaging.
- Indentation:
- Increase or decrease indentation for nested content or hierarchical formatting.
- Text Formatting:
Step 4: Save Changes #
- After editing and formatting your content, click the “Save Changes” button at the top-right corner of the page.
- Your updates will be instantly reflected on the homepage.
Customize Headers #
The front-end design for the course section with tabs (e.g., “Features,” “Syllabus,” “Target Audience,” and “Instructors”) ensures a clean, interactive, and user-friendly experience for visitors exploring course details.
These tabs or headers can be customized by you.

Step 1: Select the Desired Section #
- In the Select Section panel (on the left-hand side), identify the section you want to modify (e.g., “About Us,” “Facilities,” etc.).
- Click the three vertical dots (menu icon) next to the section name.
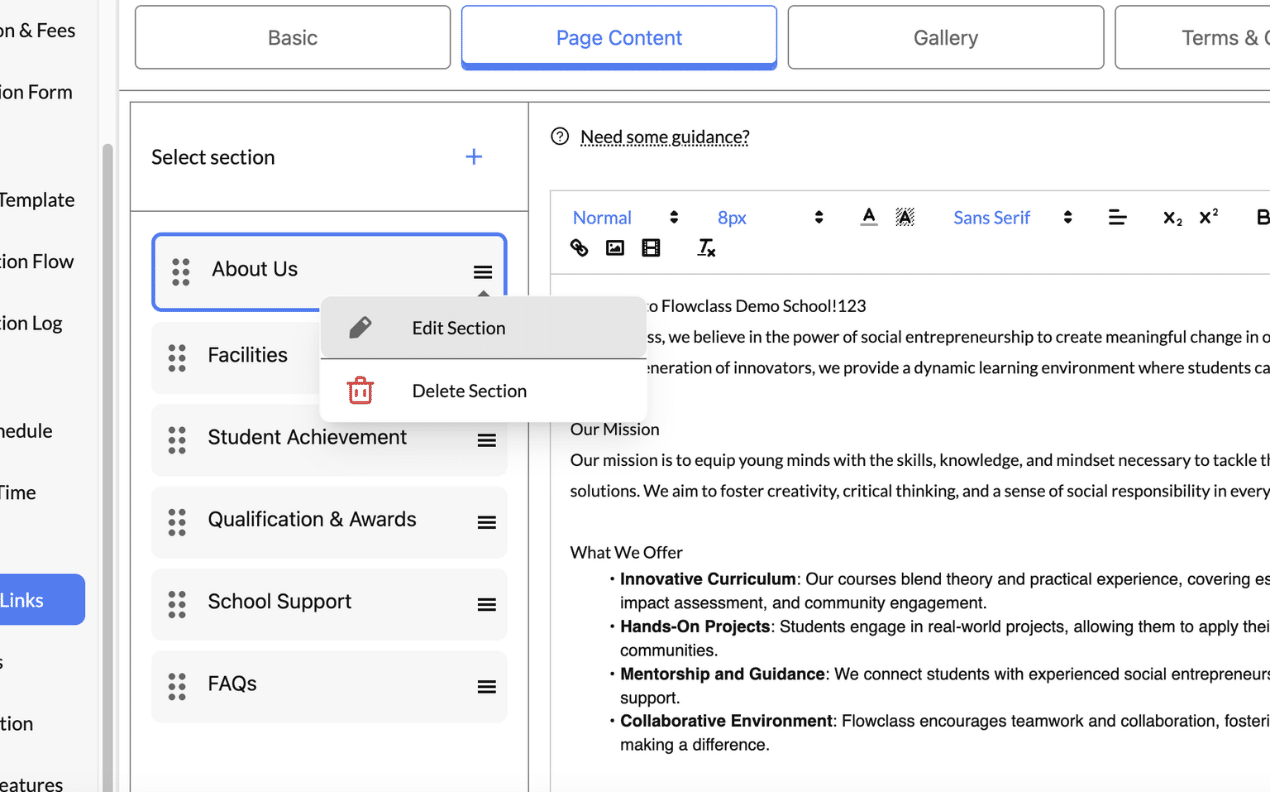
Step 2: Choose the Edit Option #
- From the dropdown menu, select Edit Section.
- This action opens the editing interface for the selected section on the right-hand side.
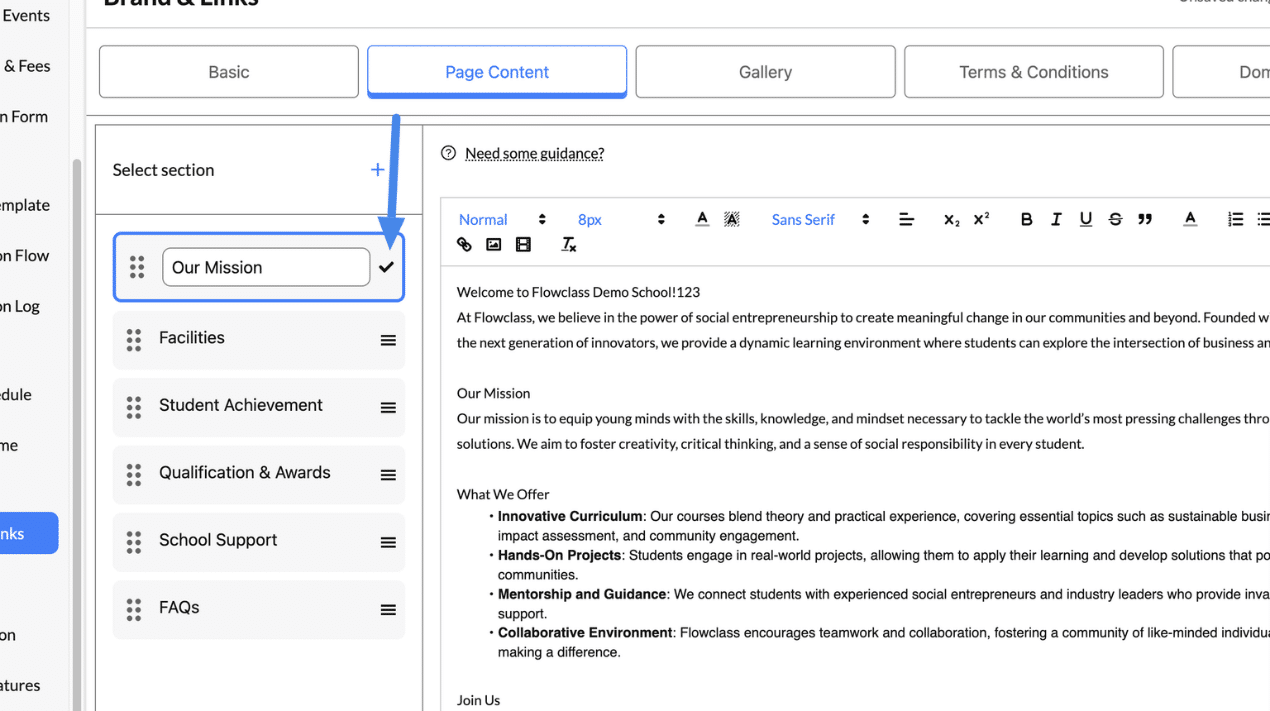
Step 3: Modify the Description Header #
- Locate the Header Field or the text area where the section’s header is displayed.
- Click into the text box and update the header title to reflect the desired changes.
- Tip: Use compelling, action-oriented headers that grab attention and align with your page’s purpose (e.g., change “About Us” to “Our Mission and Vision”).