Order Courses #
Step 1: Access the Courses & Events Section #
- Log in to your Flowclass dashboard.
- In the left-hand navigation menu, select Courses & Events.
- You’ll see a list of all your published and draft courses.
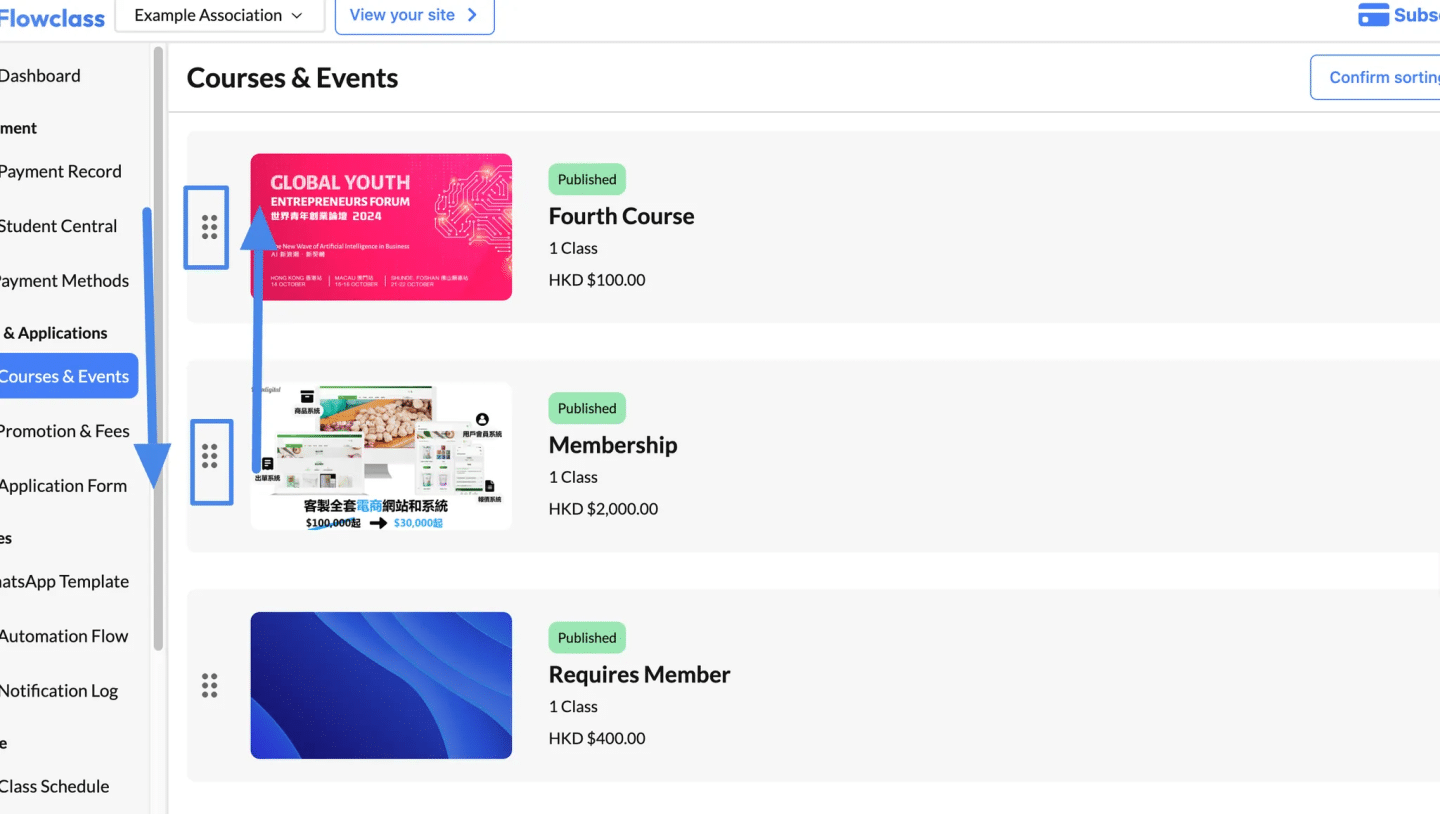
Step 2: Enter Reorder Mode #
- At the top-right corner of the Courses & Events page, click the Reorder button (as shown in the image above).
- The interface will switch to reorder mode, allowing you to rearrange the courses.
Step 3: Drag and Drop Courses #
- Locate the drag handle (three horizontal lines) next to each course.
- Click and hold the drag handle of the course you want to move.
- Drag the course up or down to its desired position in the list.
- Release the mouse button to drop the course in the new location.
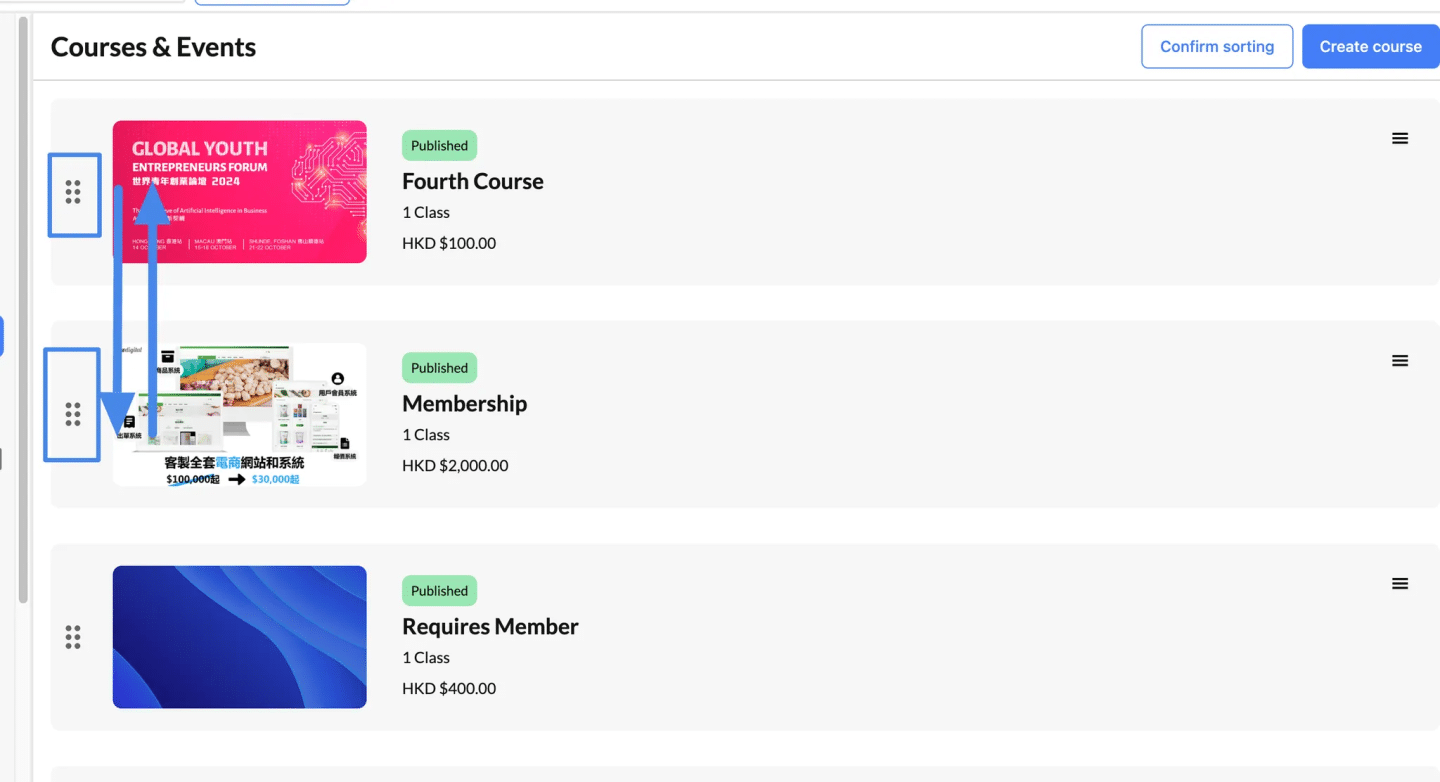
Step 4: Save the New Order #
- Once you’ve arranged the courses in the desired order, look for the Save or Confirm button (usually located at the top or bottom of the page).
- Click it to apply the changes
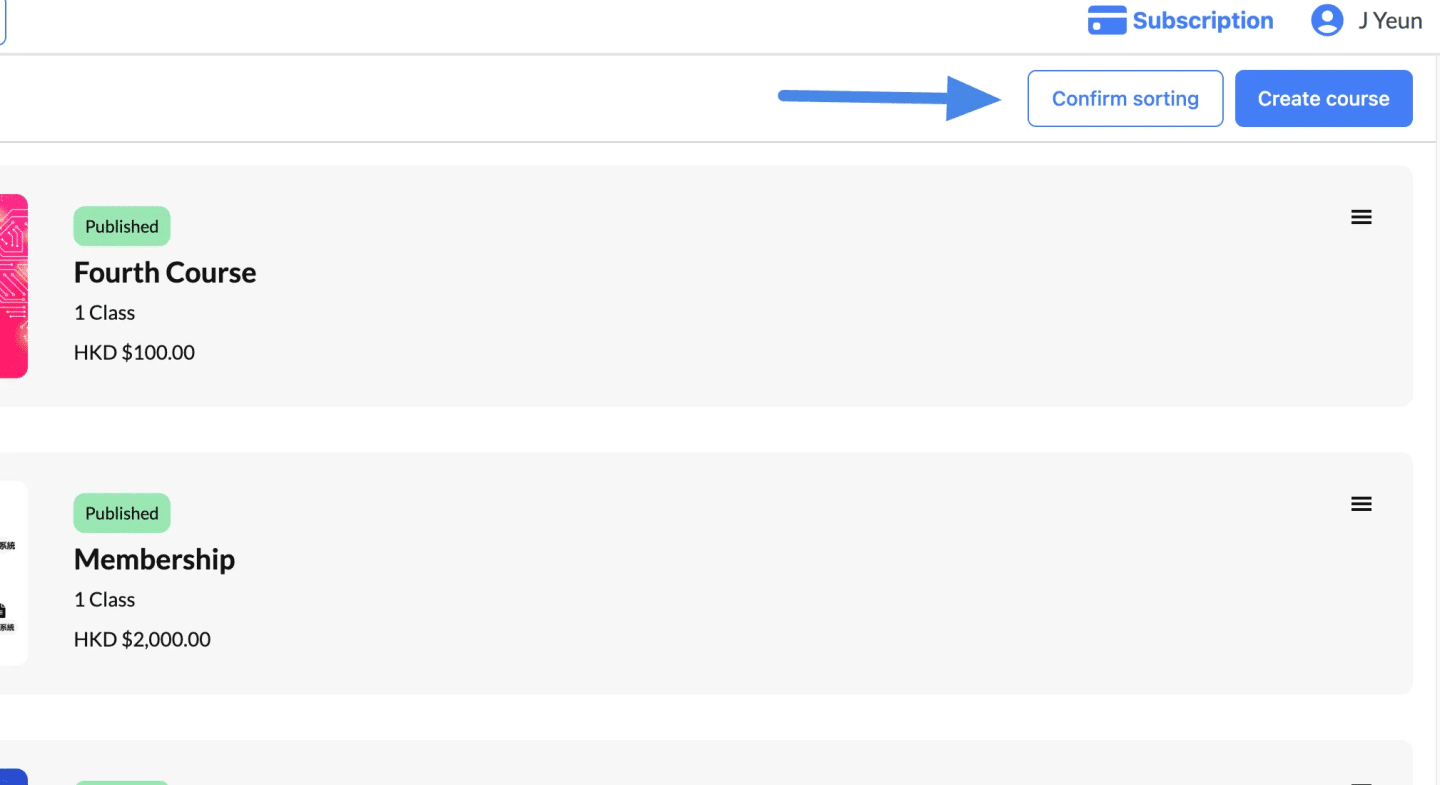
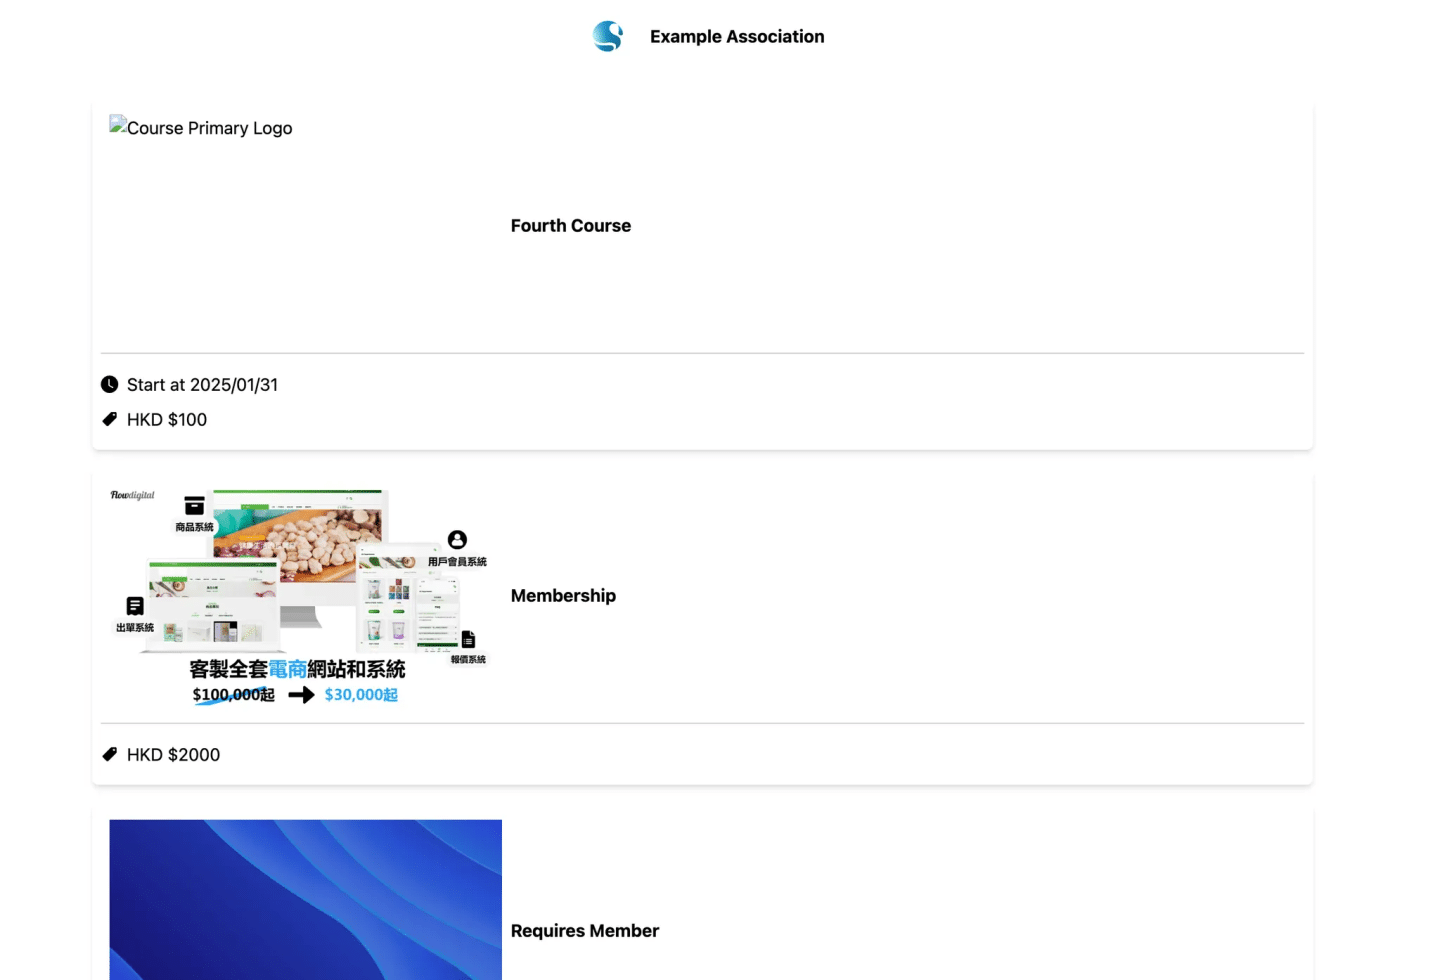
Your courses will now be displayed in the new order on your site.
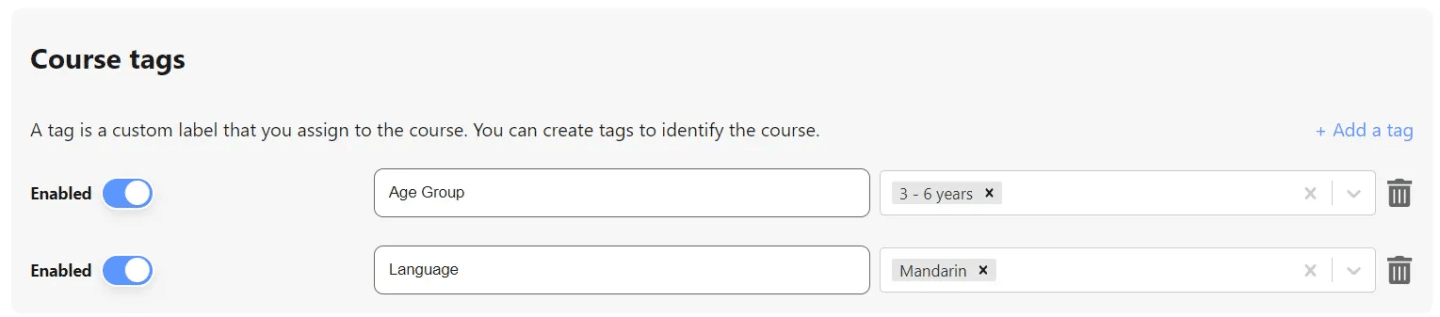
Set up the tags #
We allow you to set custom filter fields for your courses so you can let the students find the courses they want easily.
There are two parts to a course tag:
- Key: This is the category name you use to identify
- It is very important to set the keys as exactly the same across different courses (including lower and upper case)
- For instance, if you’re tagging a course with the key ‘Difficulty’, make sure to use the exact same key, not ‘difficulty’, ‘DIFFICULTY’, or any other variation, for other courses in the same category.
- The ‘Value’ is the specific attribute or characteristic that falls under the category defined by the ‘Key’.
- If two courses have the same value, it is very important to set the values as exactly the same across the same set of courses (including lower and upper case)
- For example, if the ‘Key’ is ‘Difficulty’, the ‘Value’ could be ‘Easy’, ‘Intermediate’, or ‘Advanced’. This provides specific information about the course related to the category defined by the ‘Key’.
(Course 1)

(Course 2)

(Course 3)

(Course 4)
Notice in the above 4 courses, there are a total of 3 different keys:
- Age Group
- Language
- Department
Among them, there are
- 2 values for Age Group: 3 – 6 years, 6 – 12 years
- 1 value for Language: Mandarin
- 1 value for Department: Interview
As a result, there will be 4 values in the final filter.
Example of the final filter #
This is an example of a filter with a lot more options.
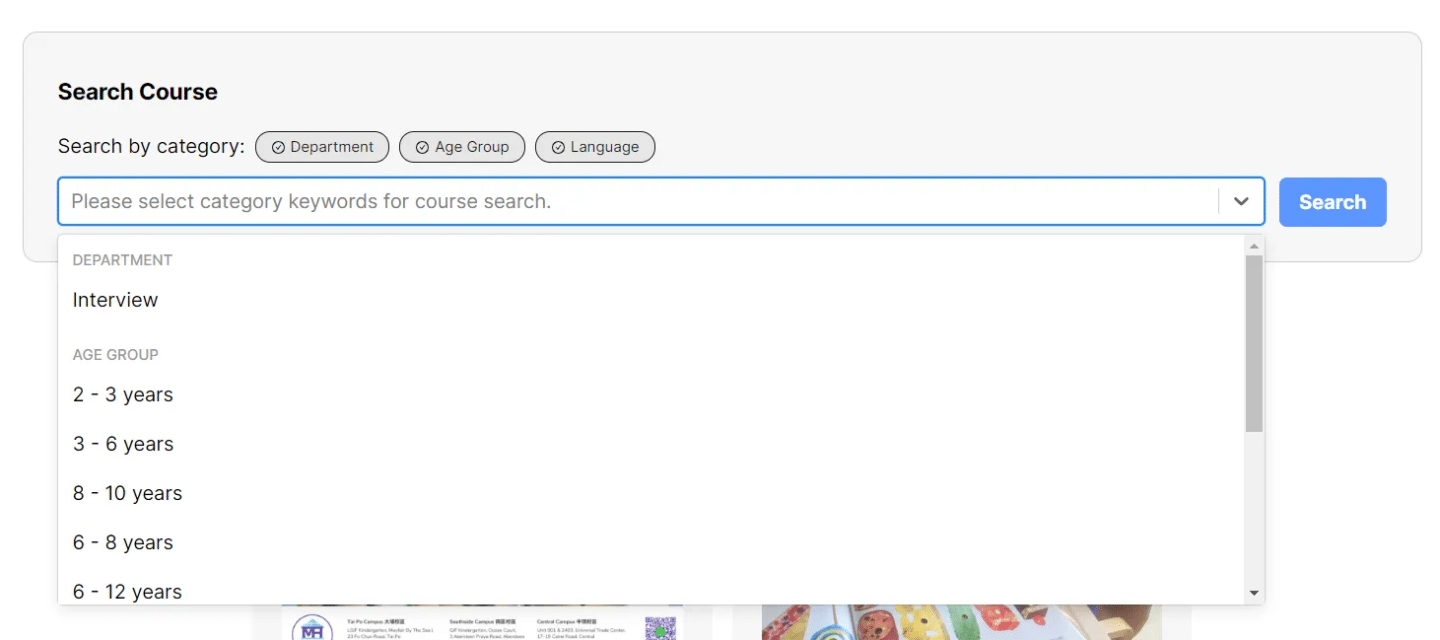
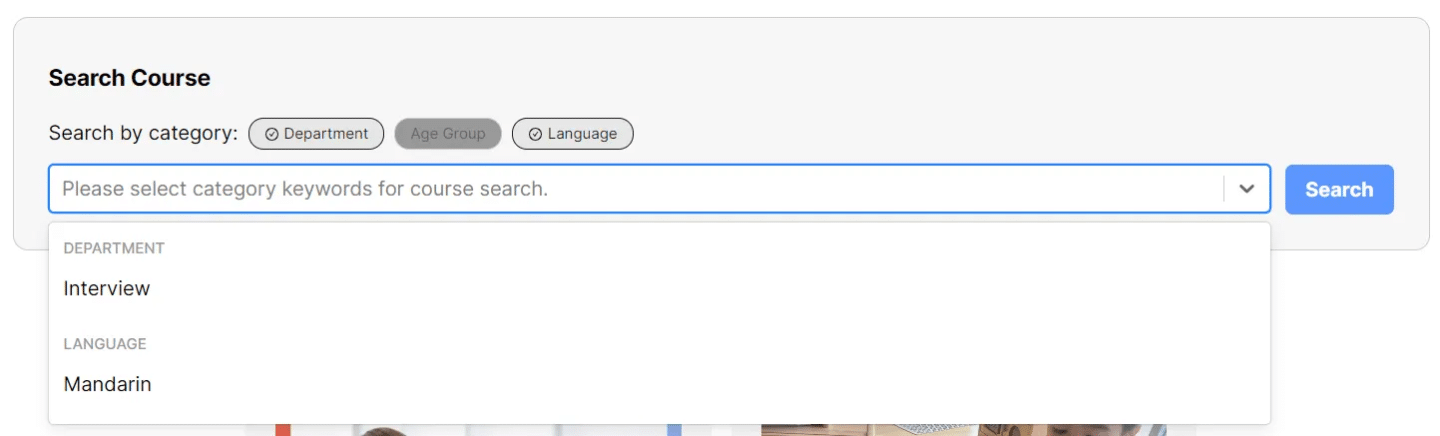
As you can see, all the keys are enabled by default. If you switch it off, you will not be able to see all values of that key in the dropdown. The option will also be greyed out. This allow the user to navigate through a long list of options.
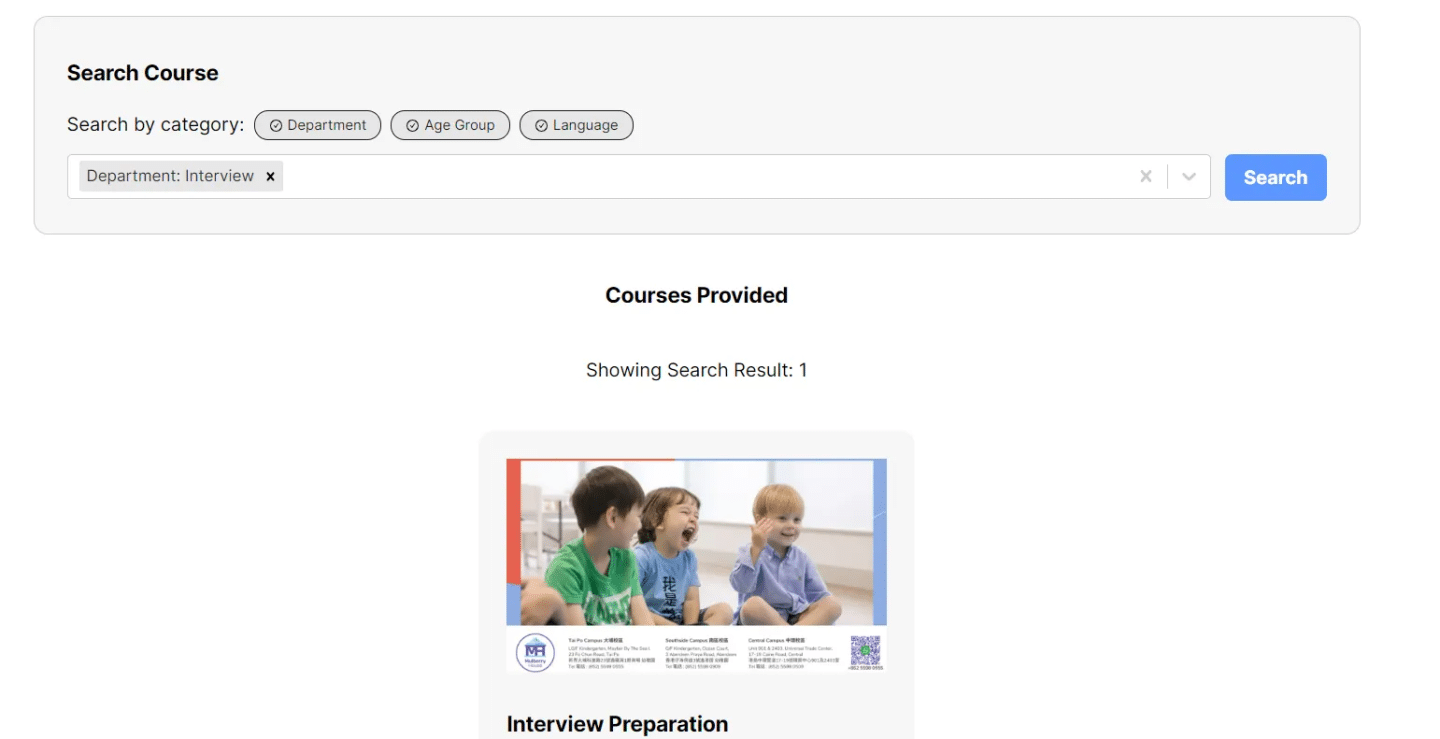
After you confirm the filter, the page will only consist of pages which have AT LEAST ONE of the tag selected. We match the courses using an OR rule
You can also directly access a pre-filtered page using the URL. Here is an example:
https://ffclassroom.course.site/?tab=courses&Campus=hong+kong&language=english
This link will be useful if you only want to share a set of courses with your parents or students.


