The Student Central feature in your system allows you to easily update student profiles and add custom data fields to ensure their information is as comprehensive and tailored as needed. Below is a step-by-step guide to managing student profiles.
Editing the student’s profile #
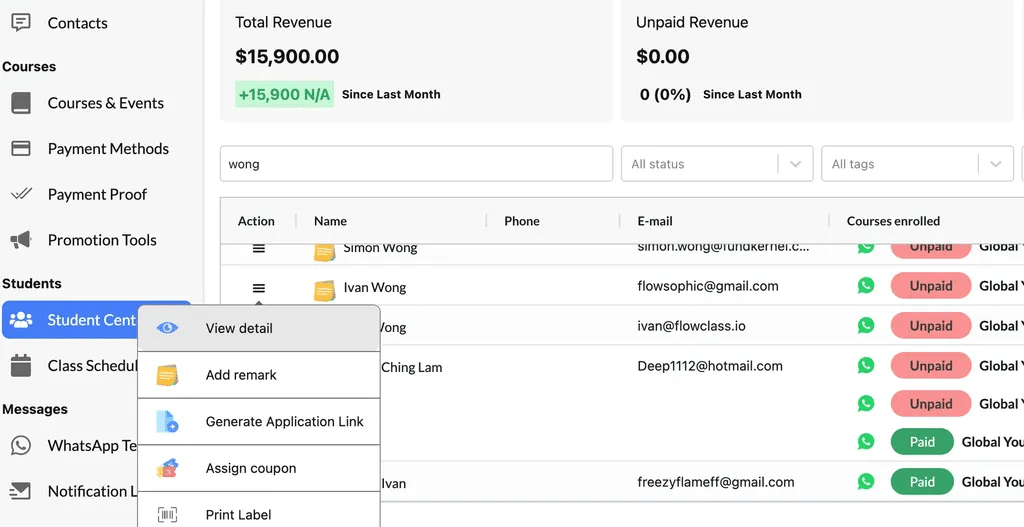
Step 1: Access the Profile #
- Navigate to the Student Central page.
- Locate the student whose profile you want to modify.
- Click the Action Button (☰) next to the student’s name and select View Detail. This will open the student’s full profile.
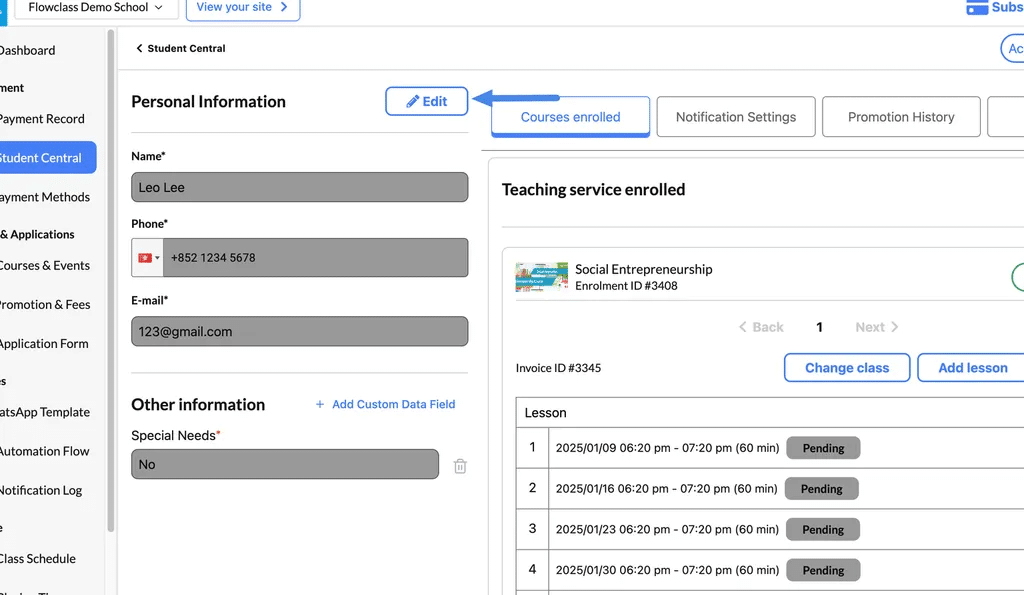
Step 2: Edit Personal Information #
- In the Personal Information section, click the Edit button.
- Update the following fields as needed:
- Name: Modify the student’s full name.
- Phone: Update or change the student’s contact number.
- Email: Update the student’s email address.
- Once you’ve made the necessary changes, click Save to store the updates.
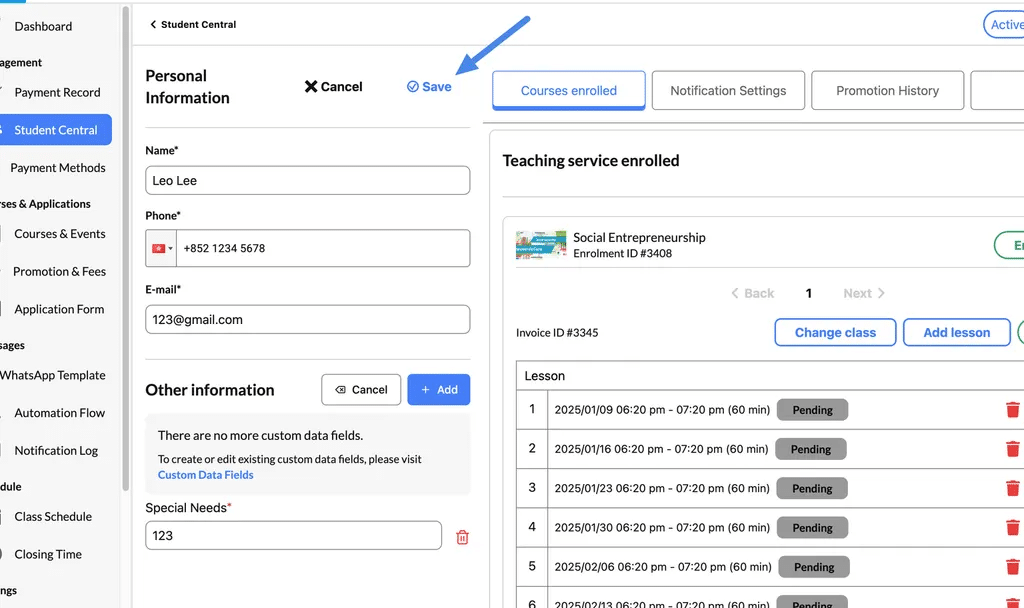
The “save” button here will save both contact fields and custom information fields.
Edit Custom Data Fields #
Custom data fields allow you to track additional student-specific information, such as special needs, dietary preferences, or any other details relevant to your organization.
Step 1: Add a New Custom Data Field #
- Within the student’s profile, scroll to the Other Information section.
- Click + Add Custom Data Field.

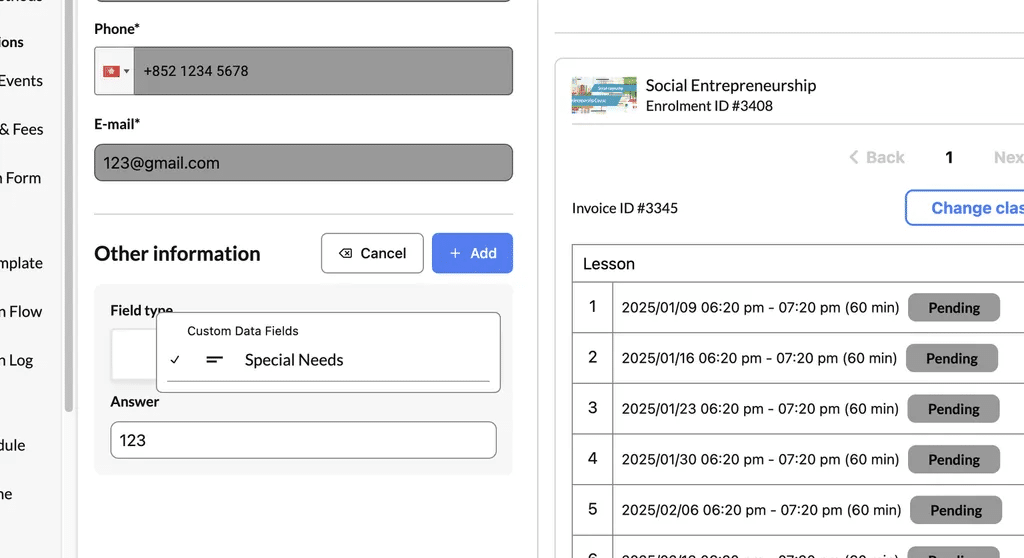
Step 2: Configure the Custom Field #
- In the popup:
- Field Type: Choose the data field type (e.g., text, number, dropdown, etc.).
- Field Name: Enter the name of the field (e.g., “Special Needs”).
- Answer: Input the value or details for the student.
- Click Add to save the custom field.
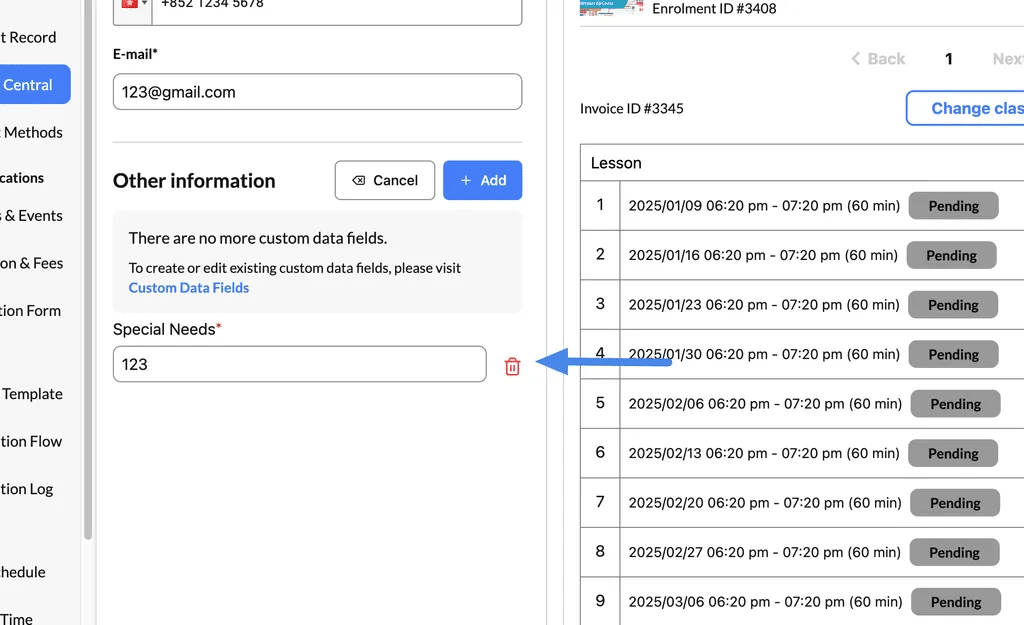
Step 3: View, Edit, or Delete #
- New custom fields appear under Other Information.
- To Edit, click the field, update the value, and press save.
- To Delete, click the trash icon next to the field.