Personalized and professional email headers can make your notifications stand out. By adding your school’s logo and branding, you’ll ensure consistency and build trust with your audience. Follow this step-by-step guide to enable email headers in your notification settings.
Step 1: Access the Admin Dashboard #
- Log in to your Flowclass Admin Account using your credentials.
- Once logged in, navigate to the “Messages” section in the left-hand sidebar.
Step 2: Go to Notification Settings #
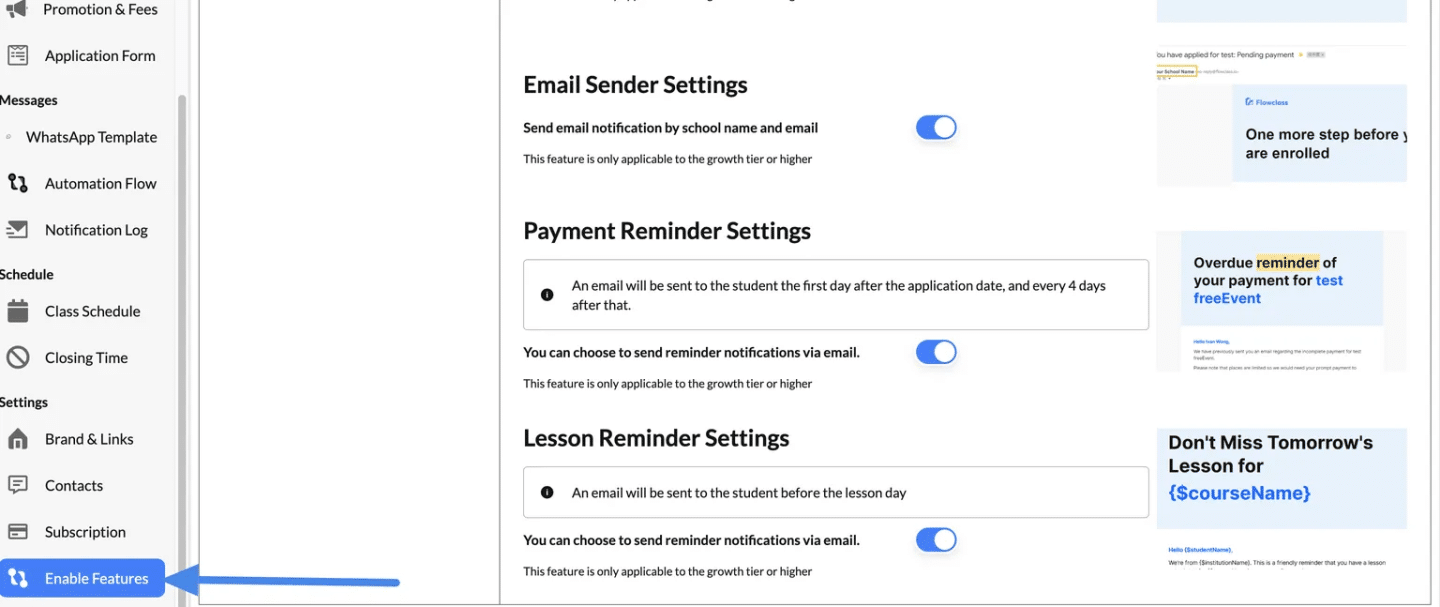
- In the sidebar, locate and click on “Enable Features” under the Messages section.
- Select “Email Notification” to access the email settings panel.
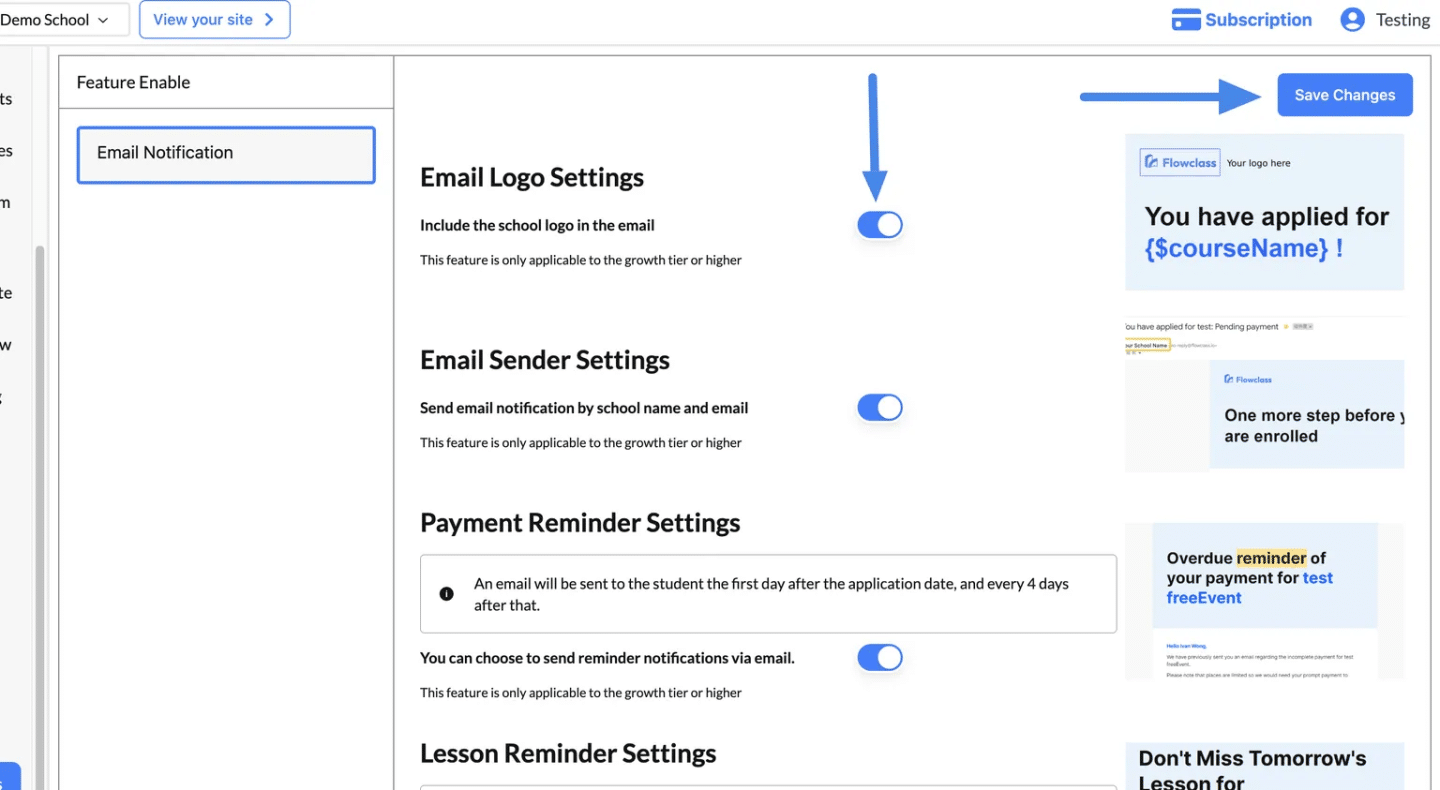
Step 3: Enable Email Logo Settings #
- Find the “Email Logo Settings” section:
- Look for the option labeled “Include the school logo in the email”.
- This feature allows your school’s logo to appear at the top of all outgoing emails.
- Toggle the Switch:
- Click the toggle button to turn it ON (it will turn blue when activated).
- A note below the toggle will remind you that this feature is only available for Growth Tier or Higher subscription plans.
Step 4: Verify Email Sender Settings #
- Below the logo settings, locate “Email Sender Settings.”
- Ensure this toggle is also turned ON to send notifications branded with your school’s name and email.
- This ensures all emails appear professional and consistent with your school’s identity.
Step 5: Save Your Changes #
- After enabling the settings, click the “Save Changes” button in the top-right corner of the page.
- A confirmation message will appear, letting you know your changes have been saved successfully.


